So I'm in the process of learning how to create (idle) animations for 2D characters, using Photoshop as my drawing app. I've made this base character at 2000x2000+ (which will later be downsized quite a lot), and I'm looking to create some simple breathing animations based on him. I'm then wondering if any of you have any techniques for creating slight differences in the art (for example breathing, slight movements of arms and legs) without spending too much time having to "redraw" everything? Should I be using transformation tools, warping tools, or anything else? Or should I actually redraw most of it?
🎉 Celebrating 25 Years of GameDev.net! 🎉
Not many can claim 25 years on the Internet! Join us in celebrating this milestone. Learn more about our history, and thank you for being a part of our community!
What is your best way of creating slight differences in sprites for 2D animations?
Your first question is on technique. Although Photoshop has an animation feature through its Timeline panel --and some people use it to make animated content like storyboards and such-- there's animation software out there that may have better tools / workflow for this (features like onion skinning, quick flipping, the concept of outline (ink) and fill (paint) etc.).
An incomplete list of animation software:
- Moho (aka Anime Studio)
- Adobe Animate CC (aka Flash)
- OpenToonz
- TVPaint
- ToonBoom Harmony
- (Pixel Art) GraphicsGale
- (Pixel Art) Cosmigo ProMotion
You can get more information about each of these with web searches.
Your second question, "should I redraw most of it?", is an important choice between either of these two styles:
-
Frame-by-frame animation, the style where you have unique drawings for each frame of animation. Classic Disney animated movies use this, and it's much more expensive to produce because you need around 24 unique drawings for 1 second of footage (some anime loosens this rule and use 12 drawings or less per second, a concept known as "animating in twos or fours"). (Example of frame-by-frame)
-
Cut-out animation, the style where you use less unique drawings on each frame, that are articulated and animated with transformations (moves, rotates, scales, shears and free warps) for as much as possible, until other drawings are needed, when you substitute the drawings for other ones.
Some modern TV cartoons use this, as it can be cheaper to produce if you cut down on the amount of unique drawings being used (so the characters face the camera at same angle for a long long time, waving their arms around by just rotating them). You can have one unique character drawing be articulated for like 10 seconds of dialogue or more, with a few drawing substitutions for mouth visemes and hands etc. (Example of cut-out)
One style doesn't necessarily look better than the other, depends how many hours you put into your work.
---- To add to this, a subtle movement like breathing or an idle animation would be much easier to make using cut-out and warping/transformations, since you can use the same drawings and sway them around
I use Clip Studio Paint which is awesome for animations and very cheap considering the competition.
My workflow is pretty simple. Layers, Layers and Layers. Because you dont want to reanimate everything yourself.
There is ofcourse a certain drawback to this: Less bounce if perhaps the legs don`t bend slightly while breathing (12 rules of animation).
In your case (presuming you wan´t it quick and dirty and not SNK-style sprite godlike mode) I would either go with the cut out style animation which a personally dislike because it doesn´t look so good to me or I would divide the body in seperate parts
i.e. head, neck, chest, belly (maybe in one depends on how detailed your char is),arms , hip, front leg, back leg, etc... and then just animated the parts you need. this comes in quite handy. (Clip studio lets you declare folders full of layers as one frame. don´t know how that works in PS)
It´s a technique which is a mix of both mentioned above. I use this for dialogue screens to save time and still have the capability to do frame by frame animation on certain parts of the body, like talking and random blinking with the eye. I might also suggest to do your char in the original size you need because some details might not be needed after all. Less distance to paint, less details to sketch, etc. you won´t be doing 4k so 1080 is the max size of screen I guess. So your char is allready way too much work. Just place the char on a testrender.
Take away some details not relevant to the character (It´s done all the time) and you allready have some time saved. The problem also comes with the angles used in game. 8-way movement or sidescrollers have different amounts of animation to be performed. Each action multiplys your work amount.
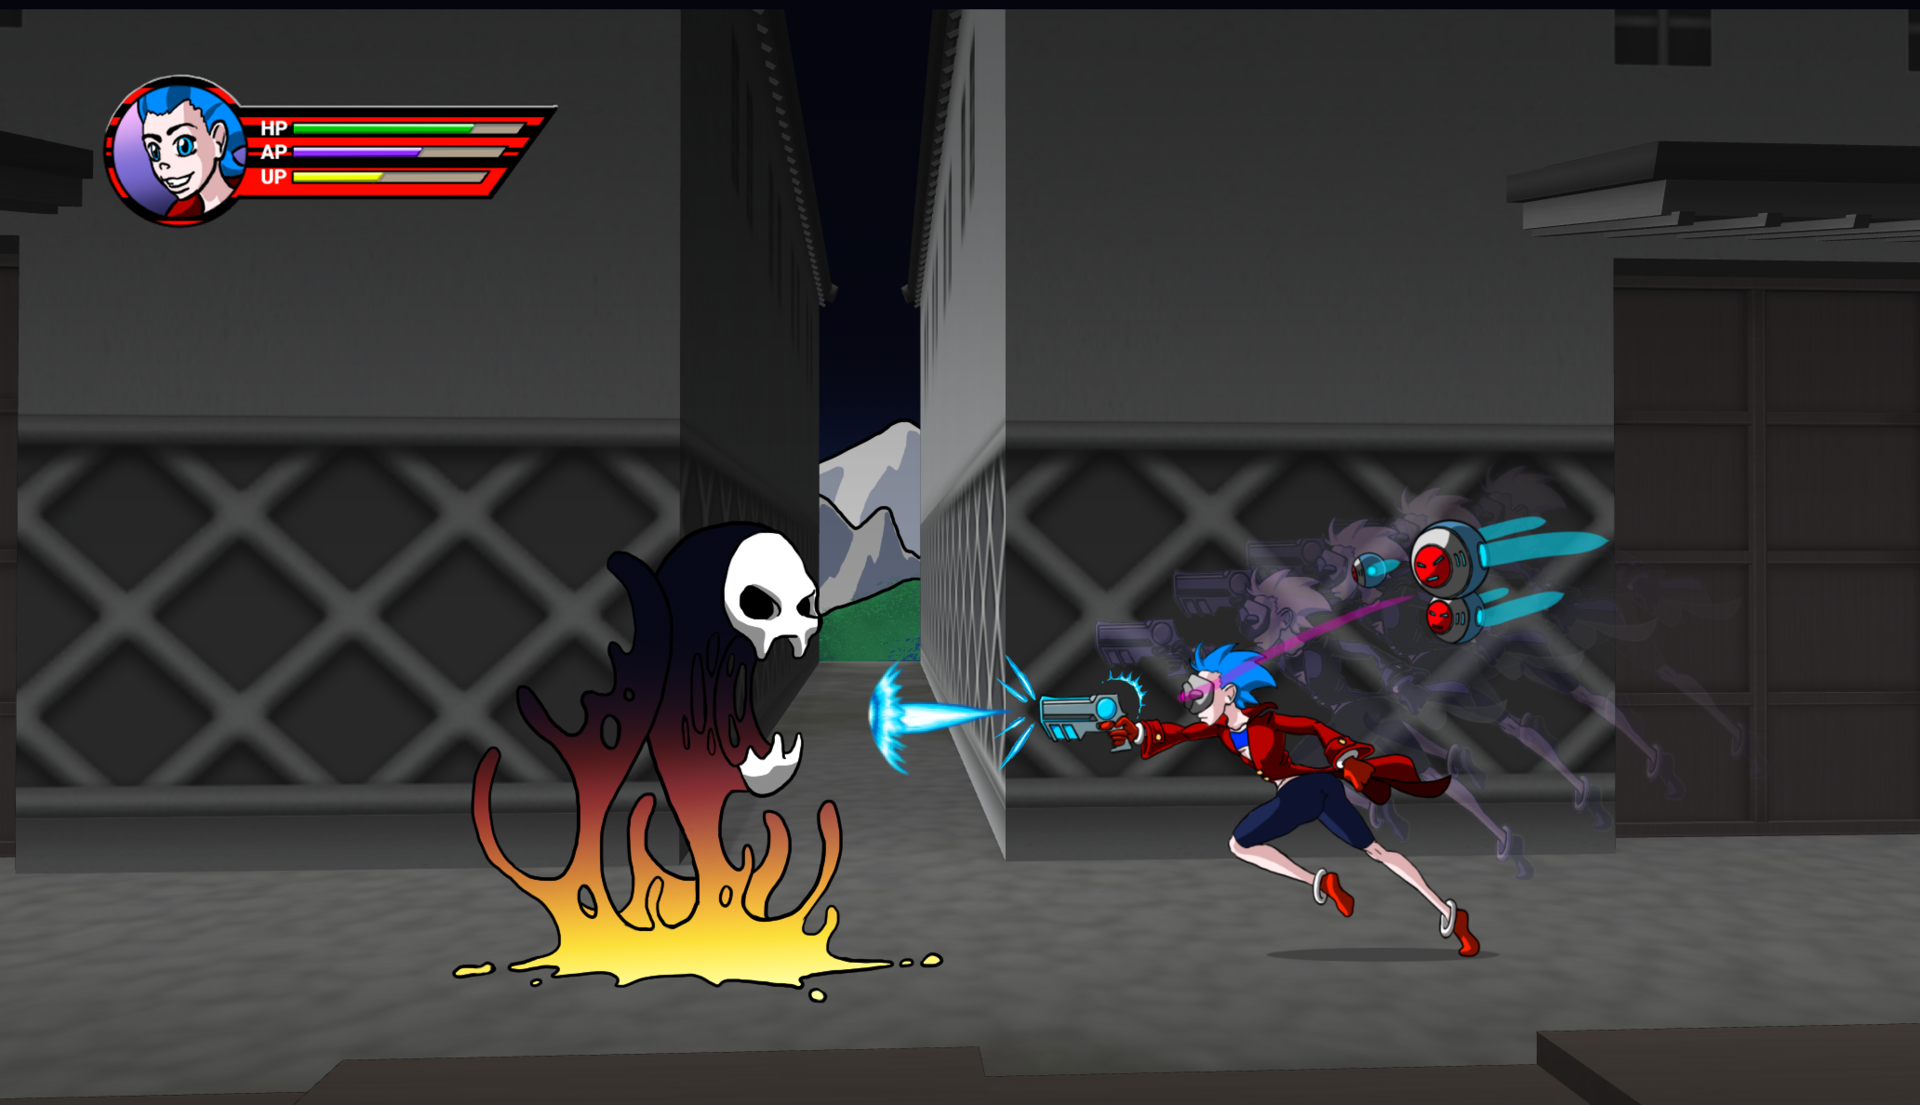
I currently work on sketches for a sidescroller (new to this myself) because I love to animate. I had to do all the steps by hand and I think it shows the difference between cutout and frame by frame perfectly. The chest and the hips bend and so forth. You won´t need that for a Visual novel, or a point and click though.
- Down below you see two steps I take before the real animation.
- The targetrender is my personal sandbox where I check my character design and resize the character until I get the final size. Then I simplify. In this case it will be frame-by-frame because I wan´t to have a fluid and dynamic feeling. The run cycle is a previous version of this character which I´m not so fond of. More stretching and mashing needed but it shows what can be done.
- I would advise against frame-by-frame animation if time is precious. because doing the animations right requires time (my final versions are still in keyframes until thy snap just right).
-If you do frame by frame: sketch out your keyframes!!! test them!!! If they don´t work. Make them work.
- check out spritesheet resource librarys and go for some old games. In the sheets check for the idle sections. there you can have a good look of what it takes to make i.e. a breathing cycle frame-by-frame or how to divide the body into different parts. I guess Vanilla Ware are the masters of Cut-out-animation. Check those games out too.
This topic is closed to new replies.
Advertisement
Popular Topics

Advertisement