- Generate a font (in “ANSI” Win-1252) with a 2px outline, padding:1,3,3,1 (space for the outline and shadow), spacing: 1, in BMFont.
- Open the TGA image in GIMP. Right click on the image → layer → Add Layer Mask →Transfer layer's alpha channel.
- Now CTRL+C to copy the mask layer. CTRL+Shift+V to open this layer mask in another drawing (white is full opacity and black full transparency)
- Now scale this mask by 200% with the NoHalo interpolation (Image → Scale image).
(you can expand the the outlines by 0.5 when you upscale the image and expand the outline by 1px on a scaled image) - Apply the "Unsharp-Mask" Radius: 0.3, Amount: 120 Threshold: 0 (Filters → Enhance → Sharpen (Unsharp Mask)).
- To expand the outline by 1px you need to apply the Median Blur filter (Filters → Blur). Radius: 1, Percentile: 99.5%, Alpha percentile: 50%.
- CTRL+D to create a duplicate image of this mask. (now this will be our third image on the task-bar)
- Downscale the image to 50% with the NoHalo interpolation.
- Apply the Unsharp-Mask, Radius: 0.3, Amount: 28.
- CTRL+C to copy the whole mask. Return to the first image where the alpha channel was separated, and paste it there. (adjust the position of the layer if necessary).
- Layer → Anchor Layer.
- Layer → Mask → Apply layer mask.
- Open the second image where we haven't downscaled this gray-scale mask.
- Choose the Black color #000000 as the secondary color. And choose the move tool.
- Use the arrow keys to move the image by 5 pixels to the right and 5 pixels down.
- Right click on the image → Layer → Layer to image size.
- Scale the image to 50% with the NoHalo interpolation and apply the Unsharp-Mask (0.3, 28).
- Colors → invert.
- Layer → Transparency → Color to alpha → Ok. (white should be set as the transparency color).
- CTRL + C to copy the whole image. Return to the first image. Paste the image there.
- Layer → To New Layer.
- Layer → Stack → Lower Layer (to move the shadow behind the glyphs)
- You can now decrease the opacity slider for the shadow layer, eg. to 60%. To change its color choose your desired color, like dark blue. Choose the Fill Tool, check the “Fill whole selection” option. On the layer window there's a dark checkerboard symbol “Lock alpha”. And now apply the blue color on the image.
- To change the colors of the outline and the fonts. Choose the primary and secondary color, like light blue and black. Make sure the layer with the glyphs is checked. Colors → Map → Gradient Map.
That's all. (Hiero lacks of these settings. You can't even change the character set (Win-1250, Win-1251 etc.) or the render style like Supersampling x4).
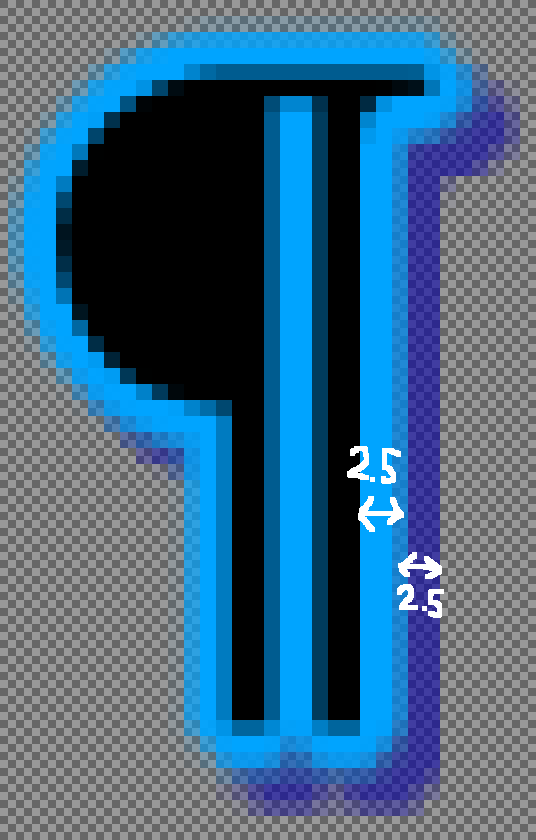
You may want to increase all “xadvance” values by 1px in an editor. Although all the glyps should be transformed by extra 0.5 pixels to the right on the image when rendering in BMFont, because of the extra 0.5px outline thickness (if there was a feature like a 2.5px outline)