Why hello there! It's time for your favourite Weekly Update blog again!
This time it's quite heavy in visual, so without further ados, let's dive right into this!
New Shaders
First up, let's talk about shader.
With me being quite active on Reddit, I'm able to see many different boards. One of them is the Unity3D board, r/Unity3D.
To keep this brief, Unity got a visual graph interface for writing shaders called "Shadergraph". In many aspects, it works like Unreal Engine's blueprints where there are different nodes with inputs and outputs. The developer simply needs to link input to outputs to build a shader.
So lately a meme was lately spreading around with using Shadergraph to create water shaders. It's quite interesting, as I've only seen a few here and there but it's a great meme nevertheless.

The catch is that ShaderGraph is only available in the pro version of Unity, and while I'd wouldn't mind spending the cash on it I'm currently stuck with the free version.
But that didn't discourage me the slightest. I've decided to build my own water shader with blackjack and hookers (but most importantly don't forget the shader! ? ).
The Depth Texture
So, in case you don't know, the first step is to be able to get the camera's depth texture.
Basically, the depth texture is a colour map holding the depth of each pixel compared to the rendering camera. The furthest the pixel is the greater will be its depth value.
This means that any geometries writhing to the Z buffer will affect the depth. This is quite handy, as with this information nice effects can be made.
Here's a picture of a depth texture for a given scene

Because I'm using differed rendering this texture is kinda given to me for "free" but if I would have used forward rendering another rendering step would be needed.
Nevertheless, getting it is quite easy as it's available in all shaders as a global sampler called _CameraDepthTexture. Just add this sampler to your shaders and you're (almost) good to go.
The Shader
But, using the depth texture itself isn't enough. We need to transform this data to be able to get that sweet sweet water shader.
First thing is to actually project the sampler unto the geometry. We then get the eye space depth for each pixel. This, in turn, creates some kind of gradient that follows the border of any pierced geometries, creating some kind of fade out.
float4 depthSample = SAMPLE_DEPTH_TEXTURE_PROJ(_CameraDepthTexture, IN.screenPos);
float depth = LinearEyeDepth(depthSample).r;
float depthDistance = (depth - IN.screenPos.w);
Afterwards, it's a matter of getting the actual distance and tweaking the gradient a bit to get it sharper (or softer if you want).
float shoreFoamLine = saturate(UNITY_ACCESS_INSTANCED_PROP(Props,  _ShoreFoamDistance) * depthDistance);
float foamLine = saturate( (UNITY_ACCESS_INSTANCED_PROP(Props,  _DepthFactor) / 2.0) * depthDistance);
When the gradient is sharp enough we can create some kind of cartoonish foam around any geometries. Used properly this can create quite the effect.
The last step I've taken was to change the gradient to use a custom gradient instead. I've basically opened my image editor and created a really pixel-ish gradient with clearly defined layers. Then it's only a matter of sampling that gradient texture with the gradient and you can get quite the effect.
With that new gradient, we can change the material's properties in any way we want. It can make various effects when using different colours and settings.
Here's a quick video showing off the different possible effects depth texture can create:
Room Redesign
Secondly, while the shaders were compiling I had time to continue some redesigns here and there. Let's start with the bank, which is by far the oldest rooms.
One predominant difference you'll see in most of these rooms is obviously better lighting. This was due to the room scaling its wall to match the level's wall heights.
While it created a certain level of coherence it was really weird looking. It was also a significant pain to light up, which resulted in badly lit rooms.
Another problem came with the reflection probes, which needed to be re-scaled and re-positioned each time a special room was spawned.
So I removed that wall scaling thing. The effect is that now I can properly set up the lighting of each room and also made those reflection probes easier to manage.
The New Bank
First, let's look at the new bank!
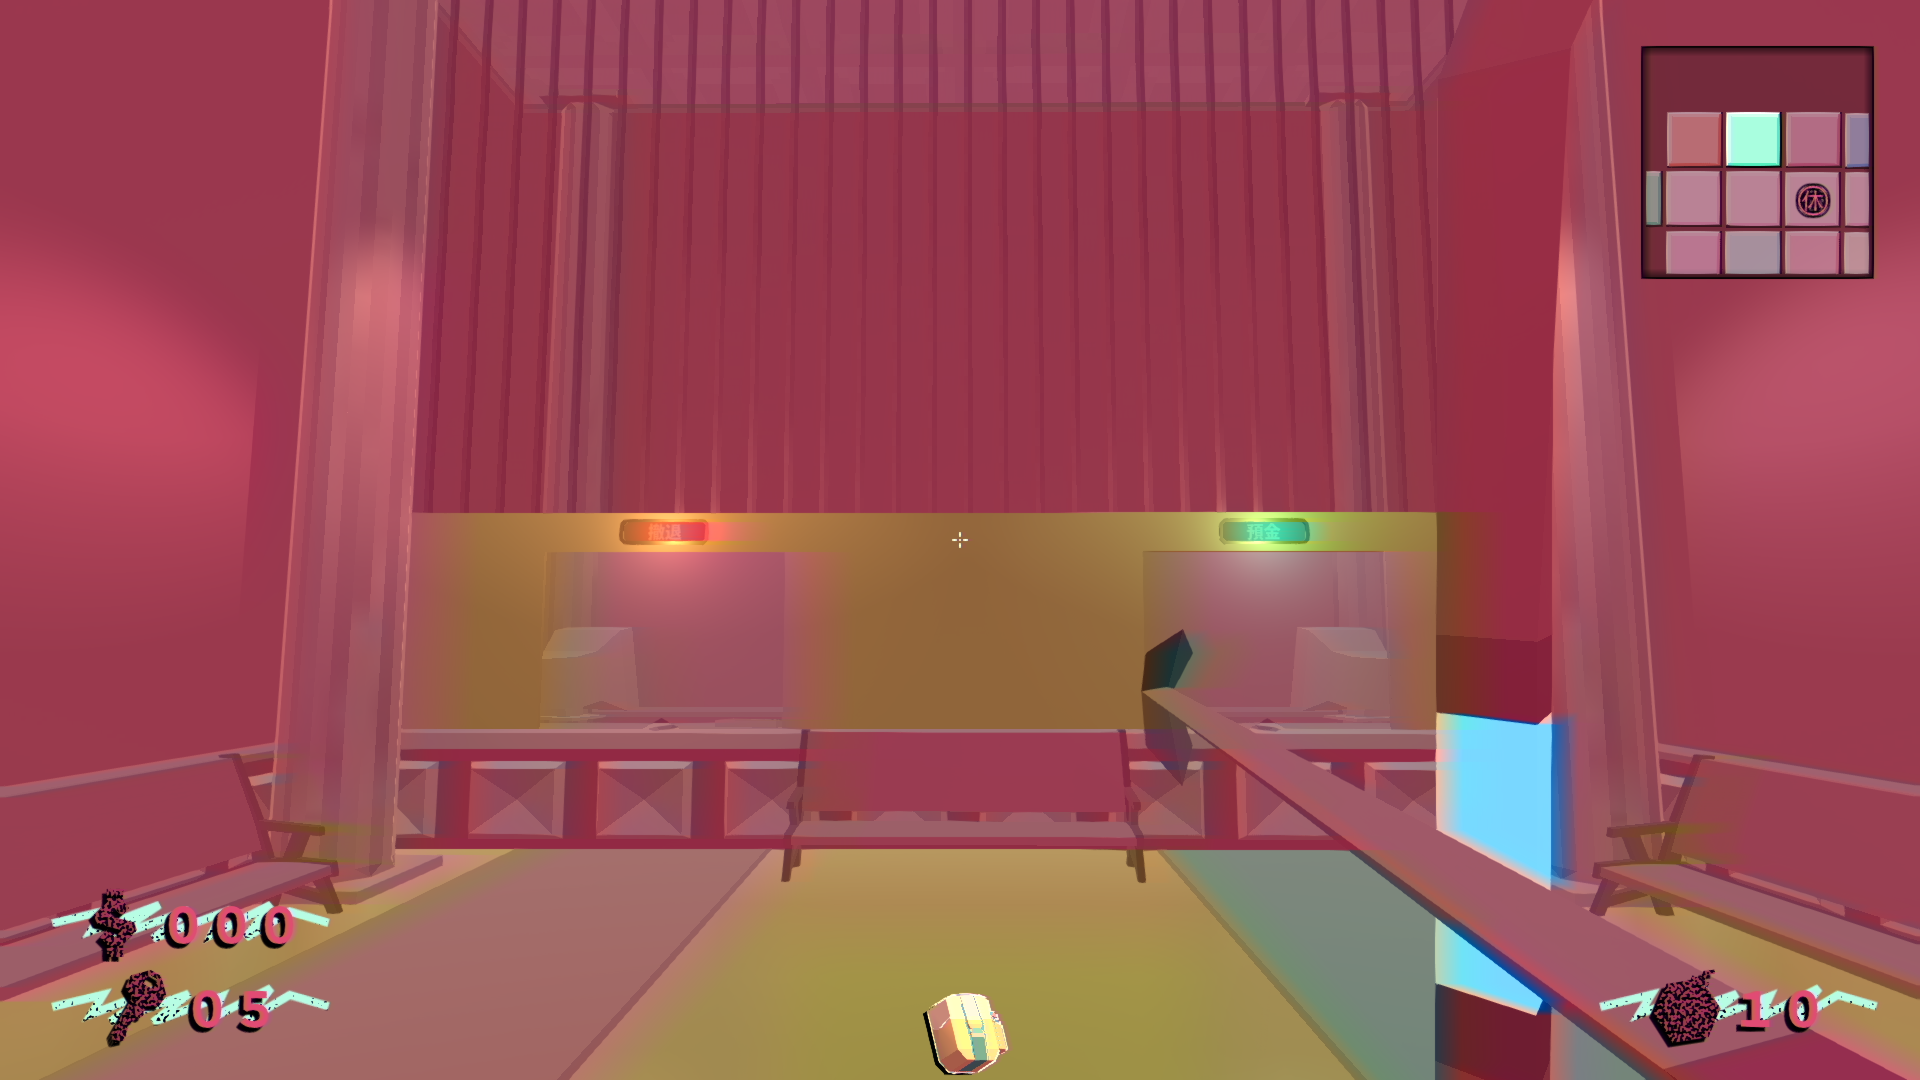
now the counters are much more detailed, with each counter having a proper computer setup with screens and keyboard.
The counter screen got a lot more details than before. Now it got metal bars instead of a solid design.
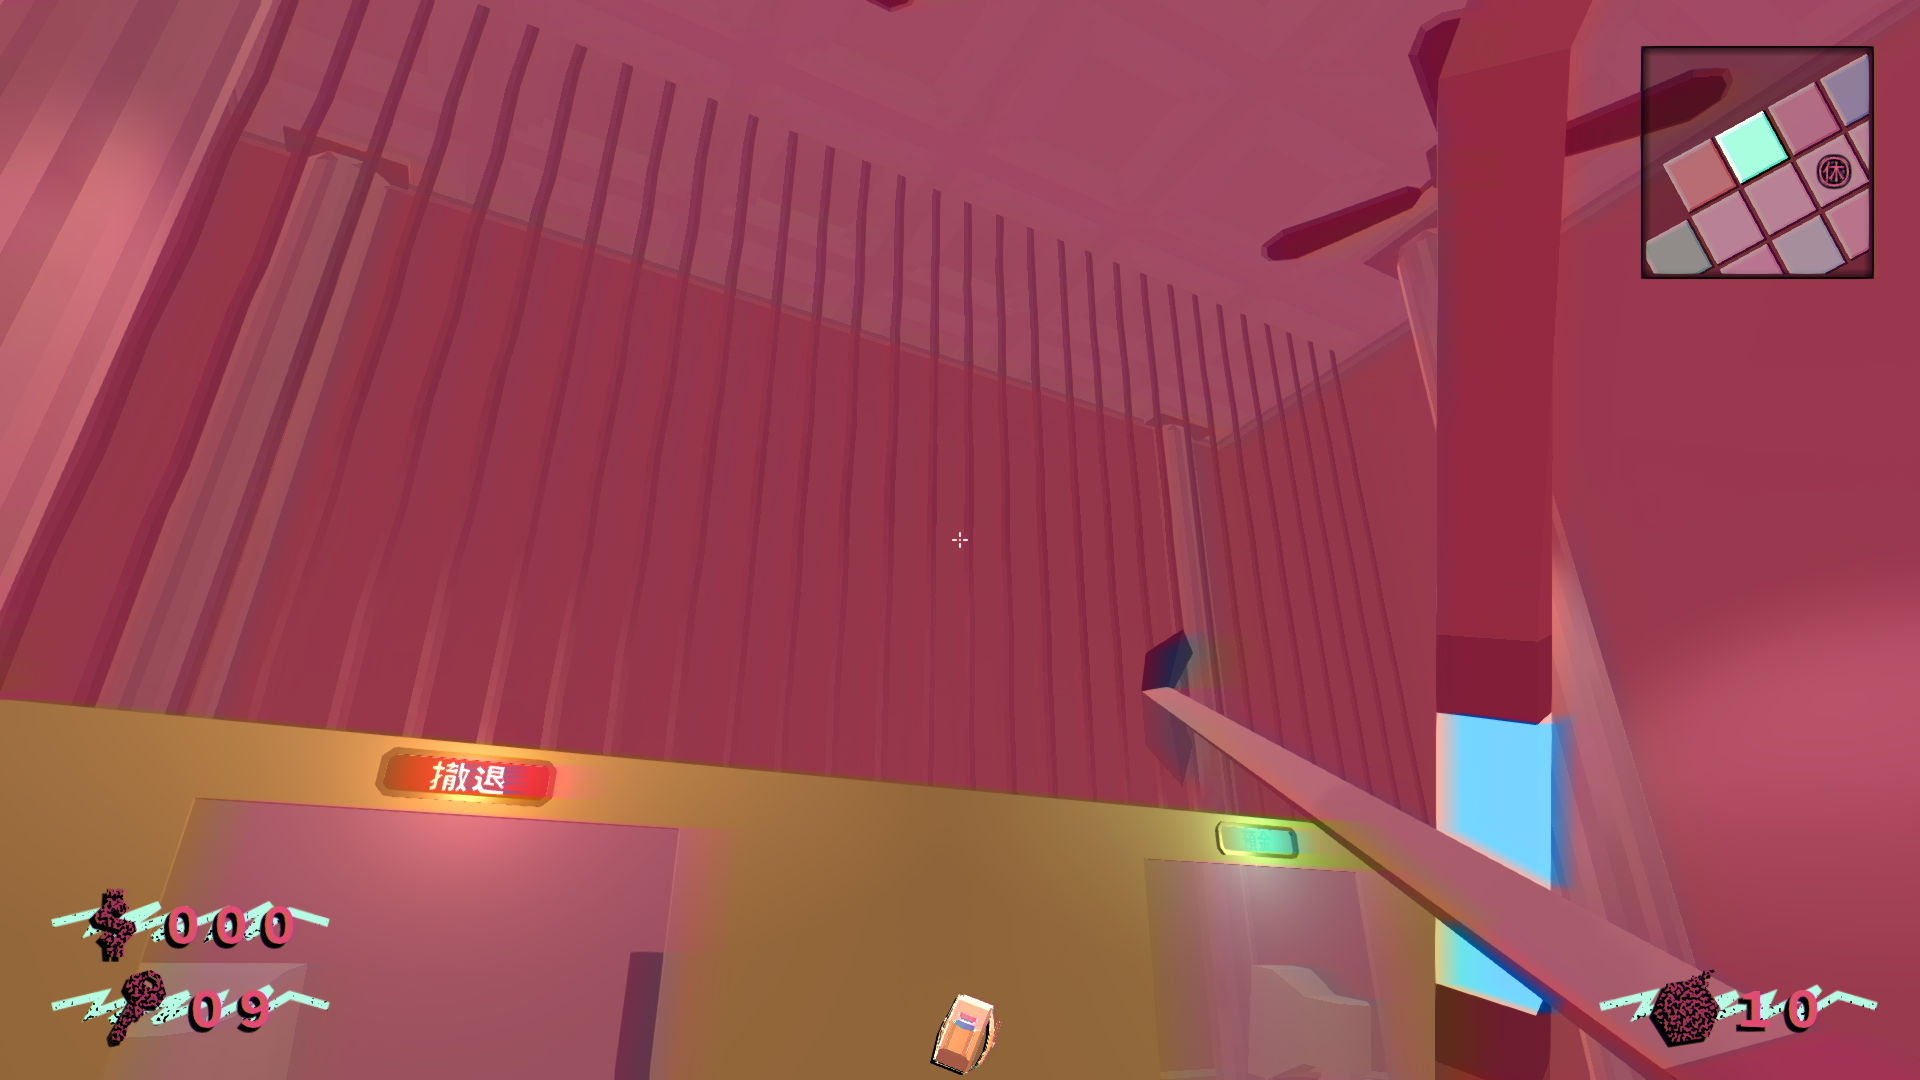
Another thing to mention is those massive pillars on the sides. It's supposed to mimic classical bank designs.
The lighting is also greatly updated. It's much more present and in turns make the scene much more detailed and designed than before.
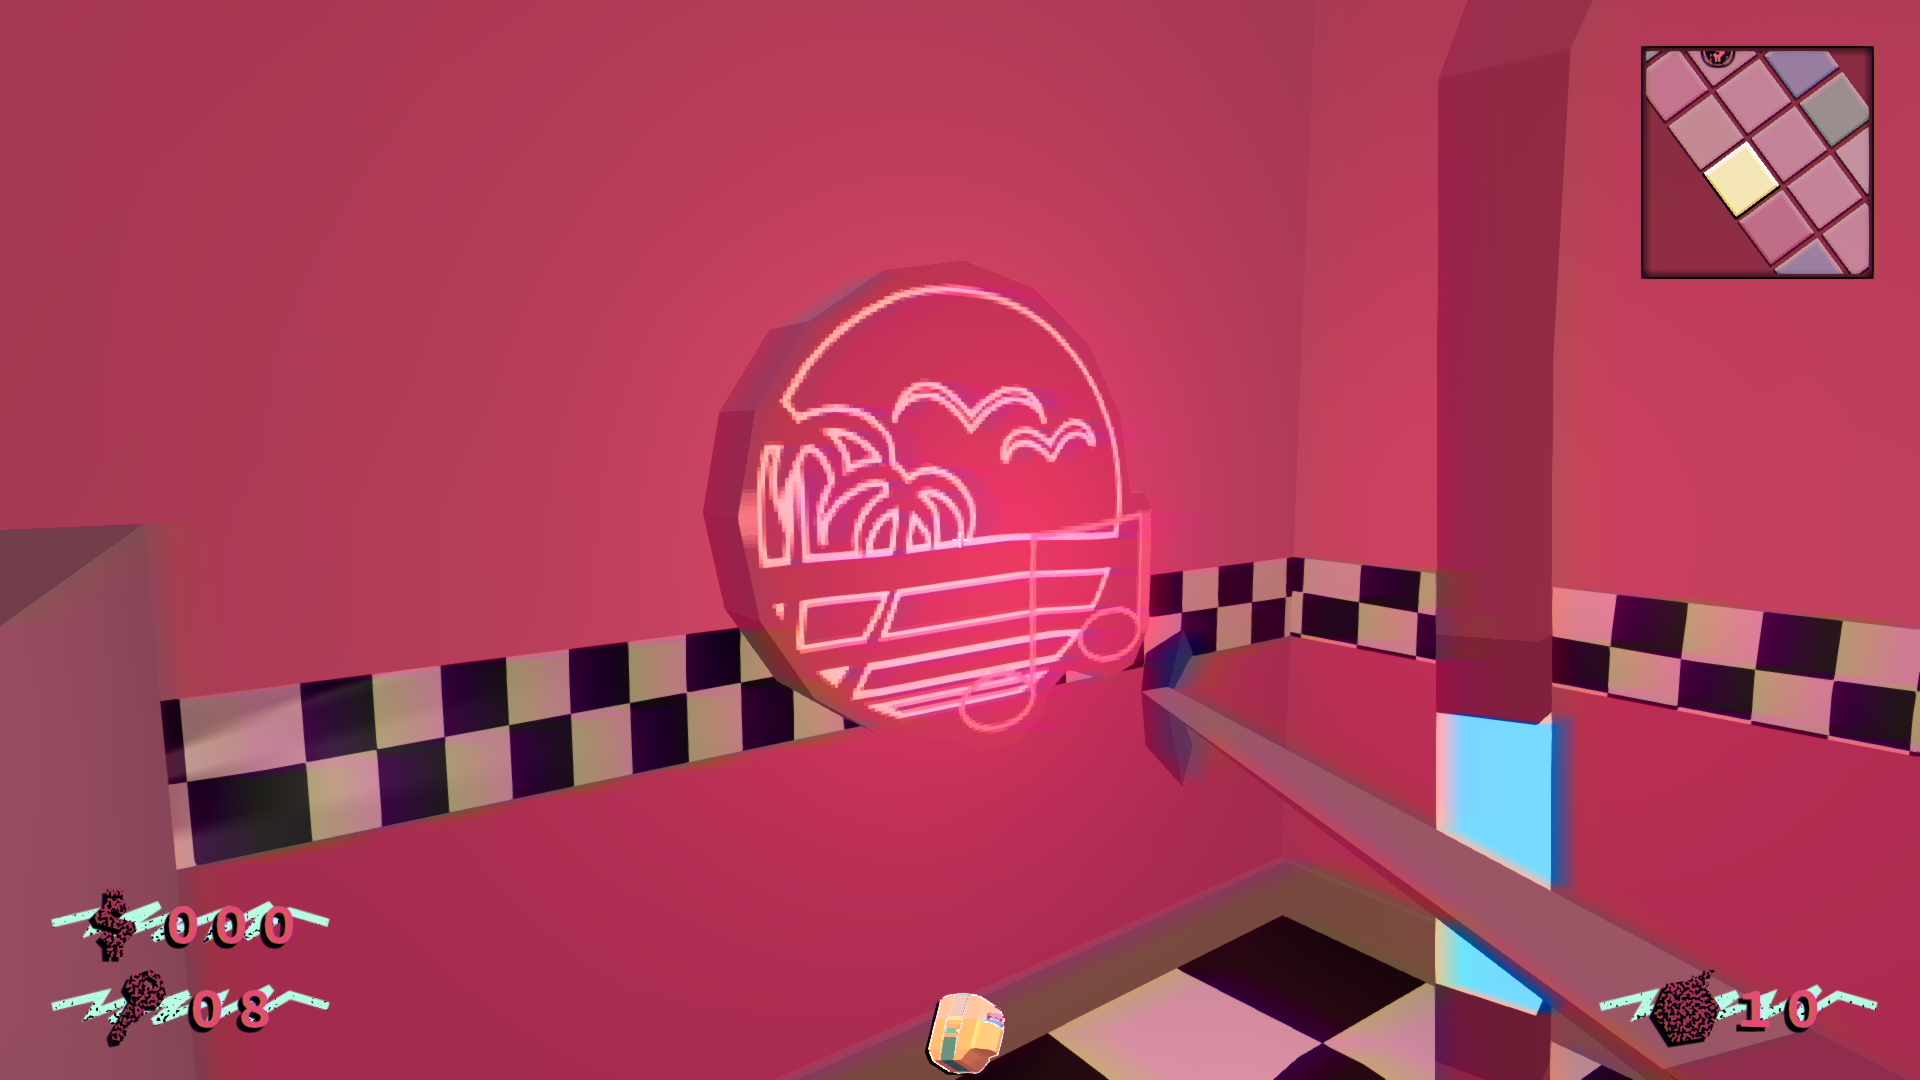
Lastly, I've also added a darkened corridor that is supposed to tell the player that the bank is bigger than it looks. I've used another depth texture shader to create that darkening effect too!
I'm fairly content with that design right now. Can't say its the final design though (because of agility and whatnot), but it's really neat looking, to be frank.
The New Diner
Next, it's all about the new diner.
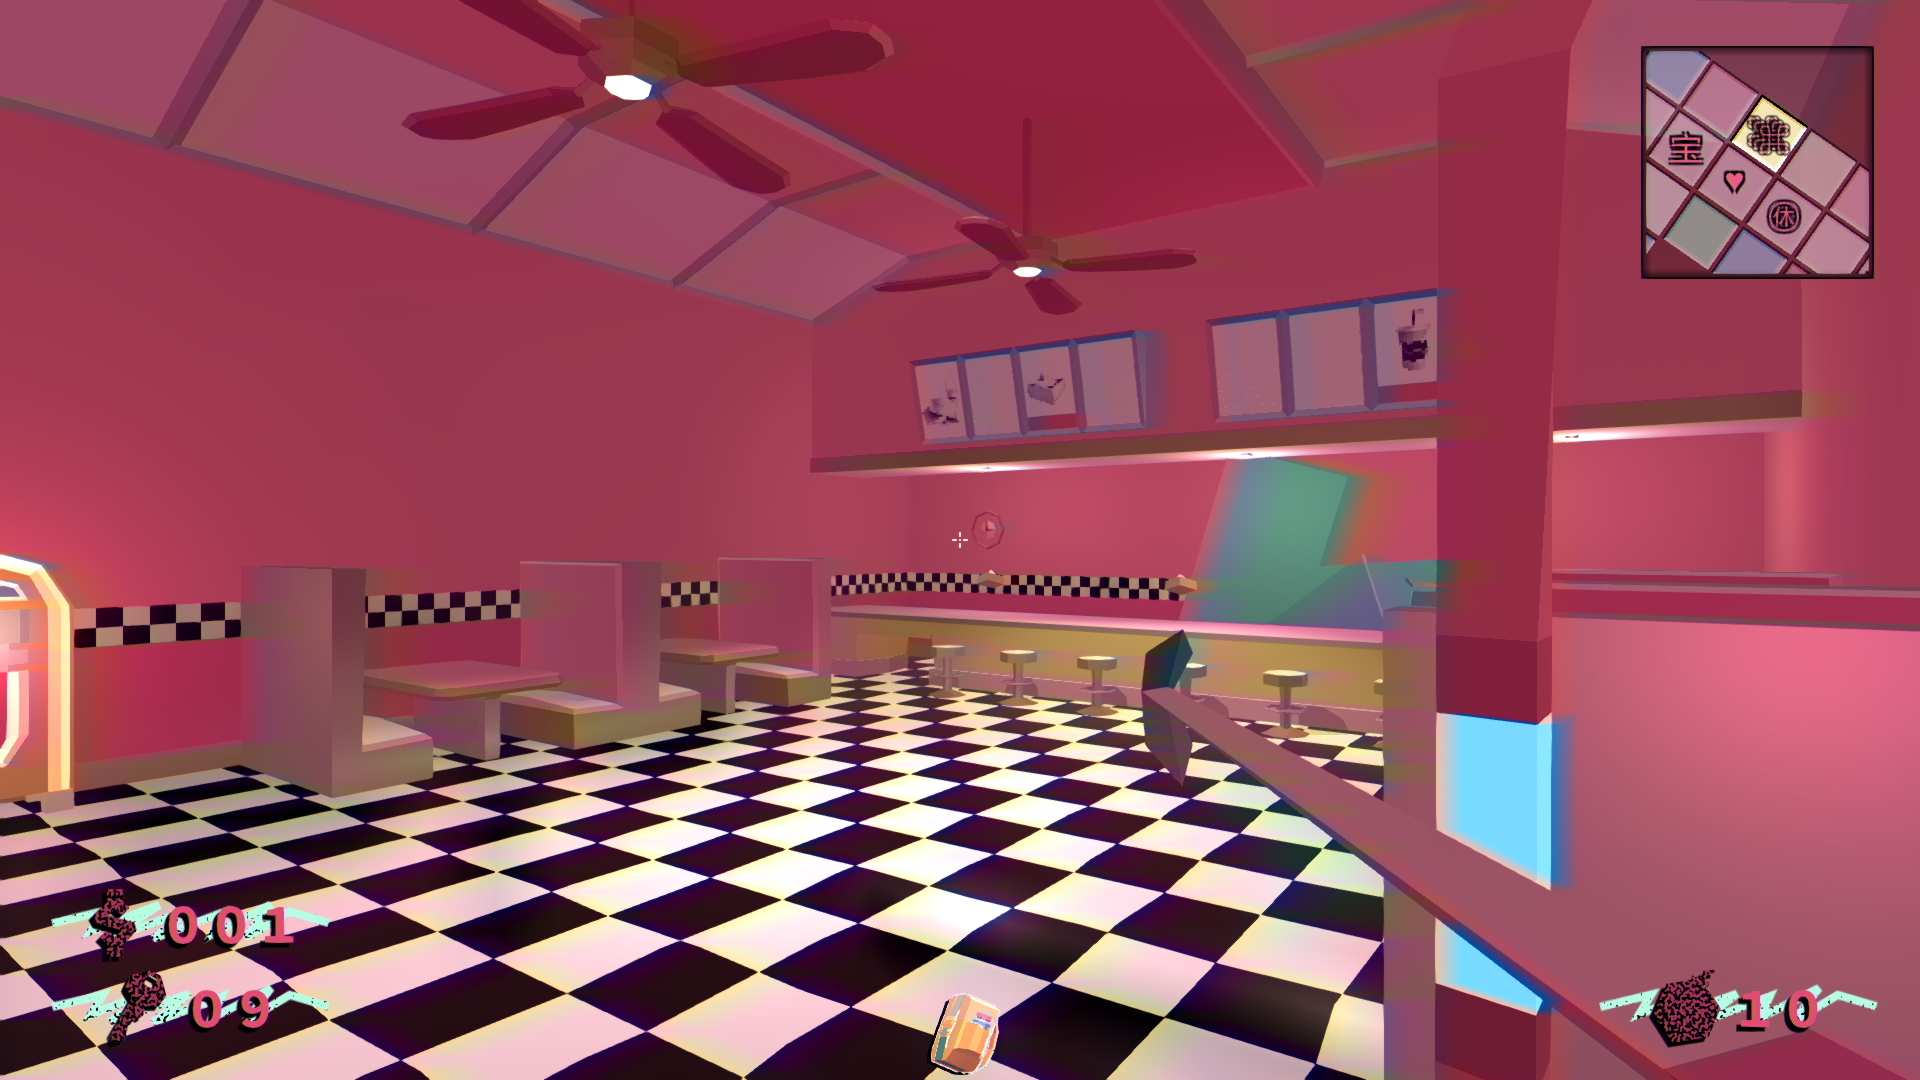
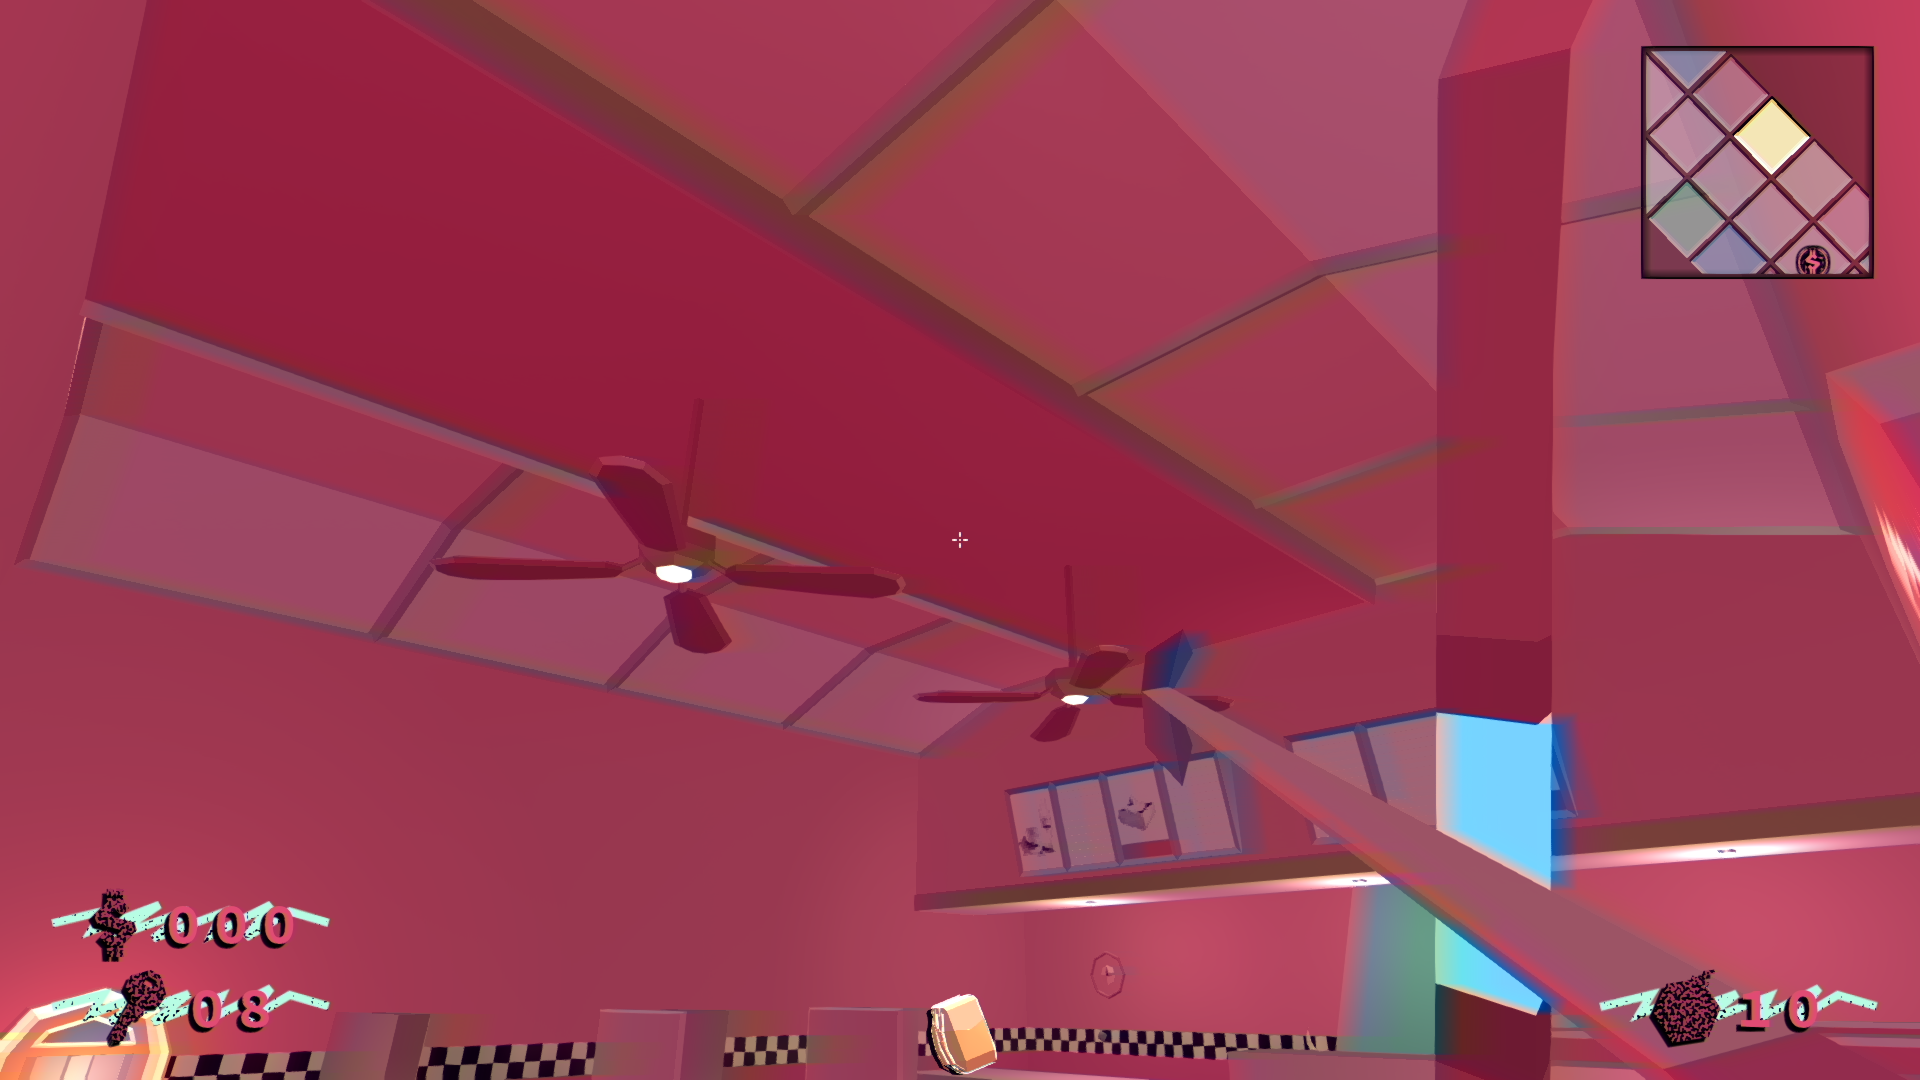
First, I've decided to change the ceiling, of which I thought was really boring and didn't make me think of diners at all...
To fix this I've decided to add a curve to that ceiling and give it a more "diner" aesthetic altogether.
Another big change is the design change of the props. Now its much more low-poly with its flatten quads and sharpen edges.
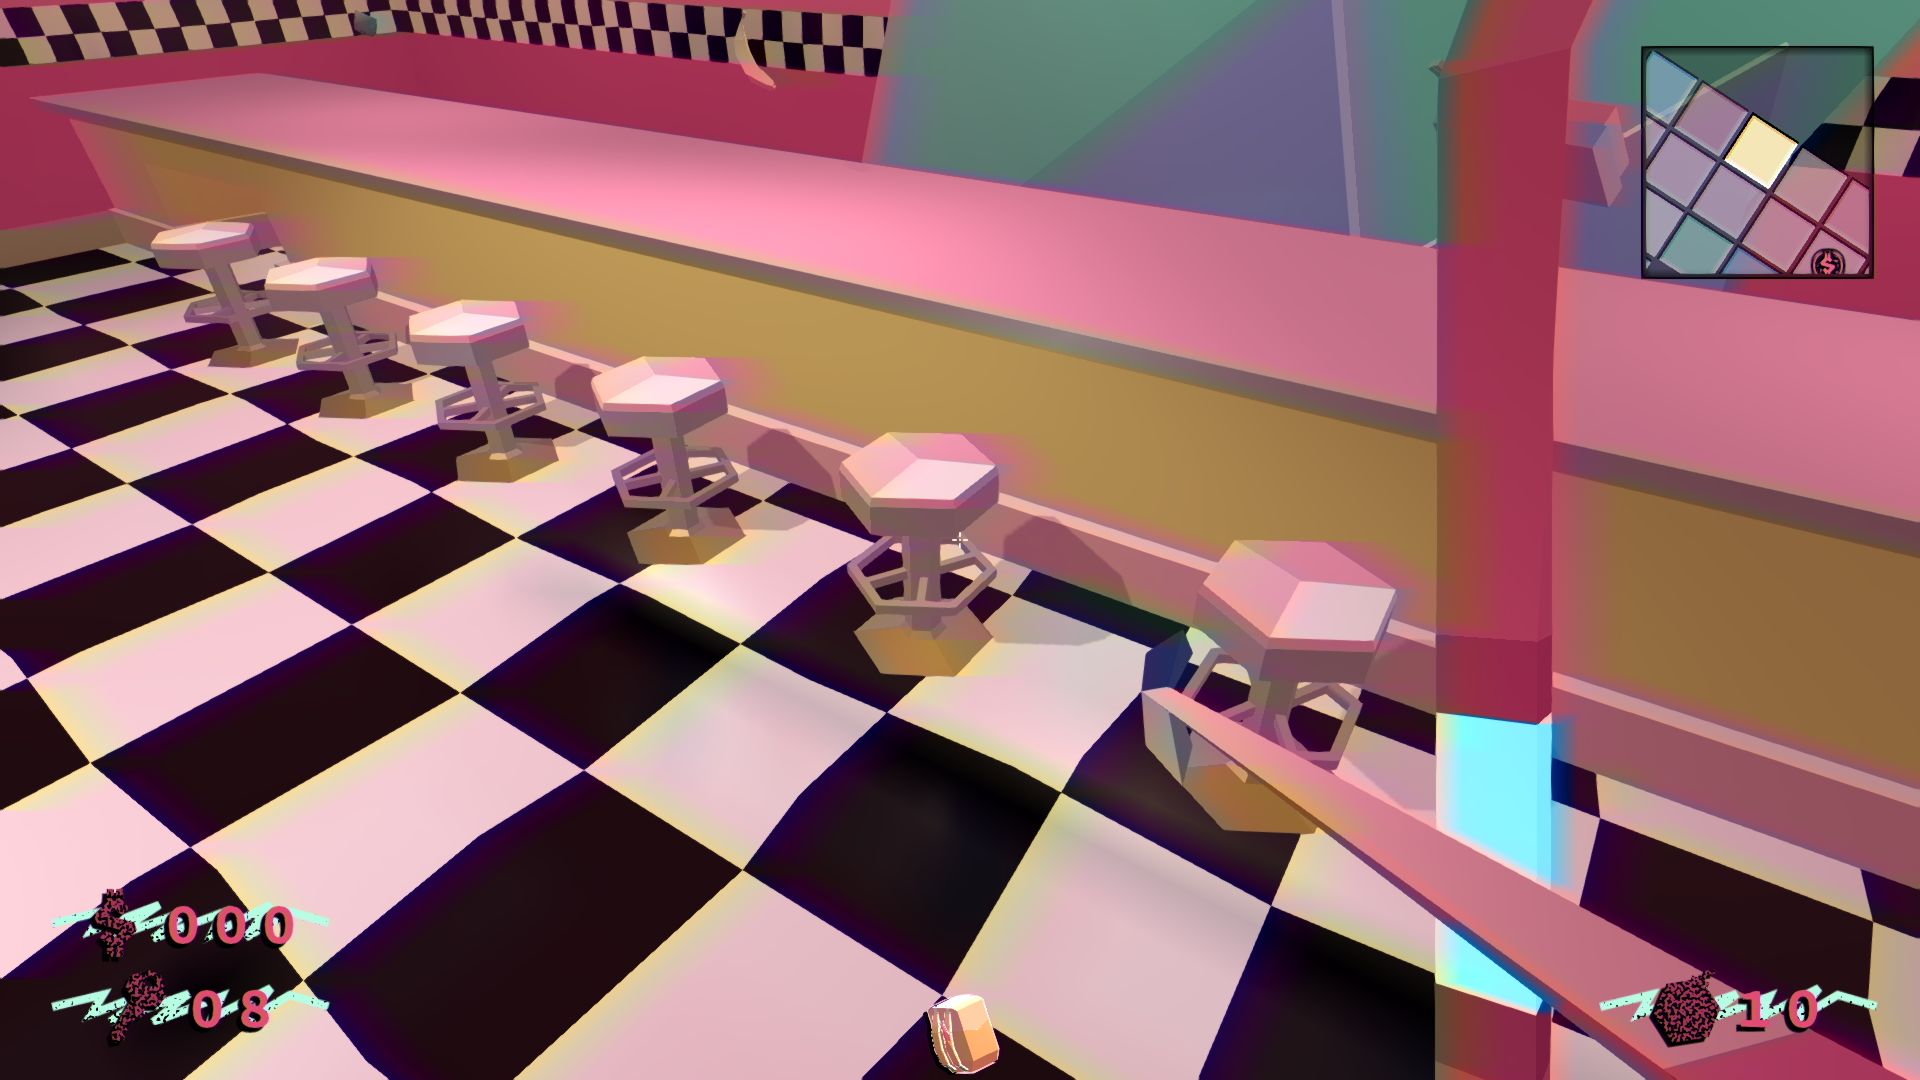

Another change was the use of metallic materials. In classic diners, metallic materials were used almost everywhere.

In my dinner, there weren't any at all. Now they're a bunch of metallic ridges on most geometries, which gives it quite the "diner" aesthetic I'm going for.
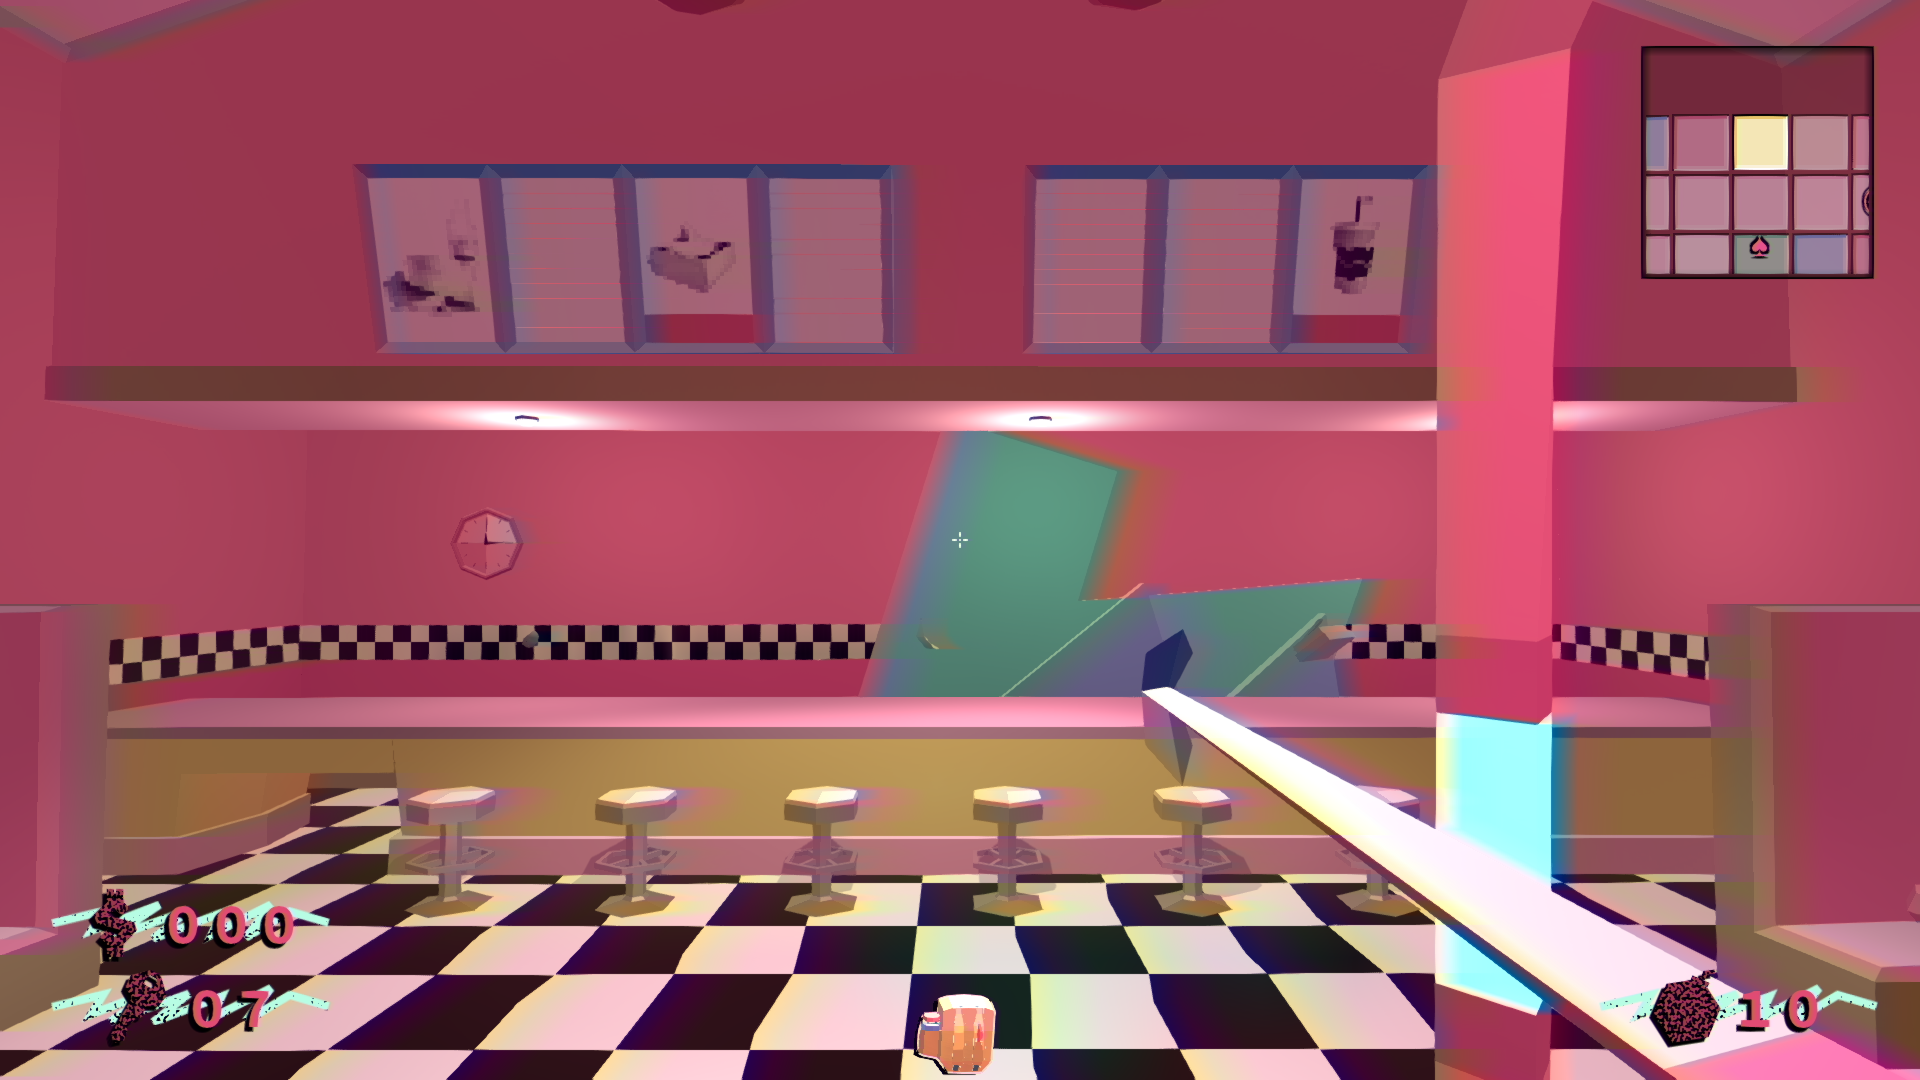
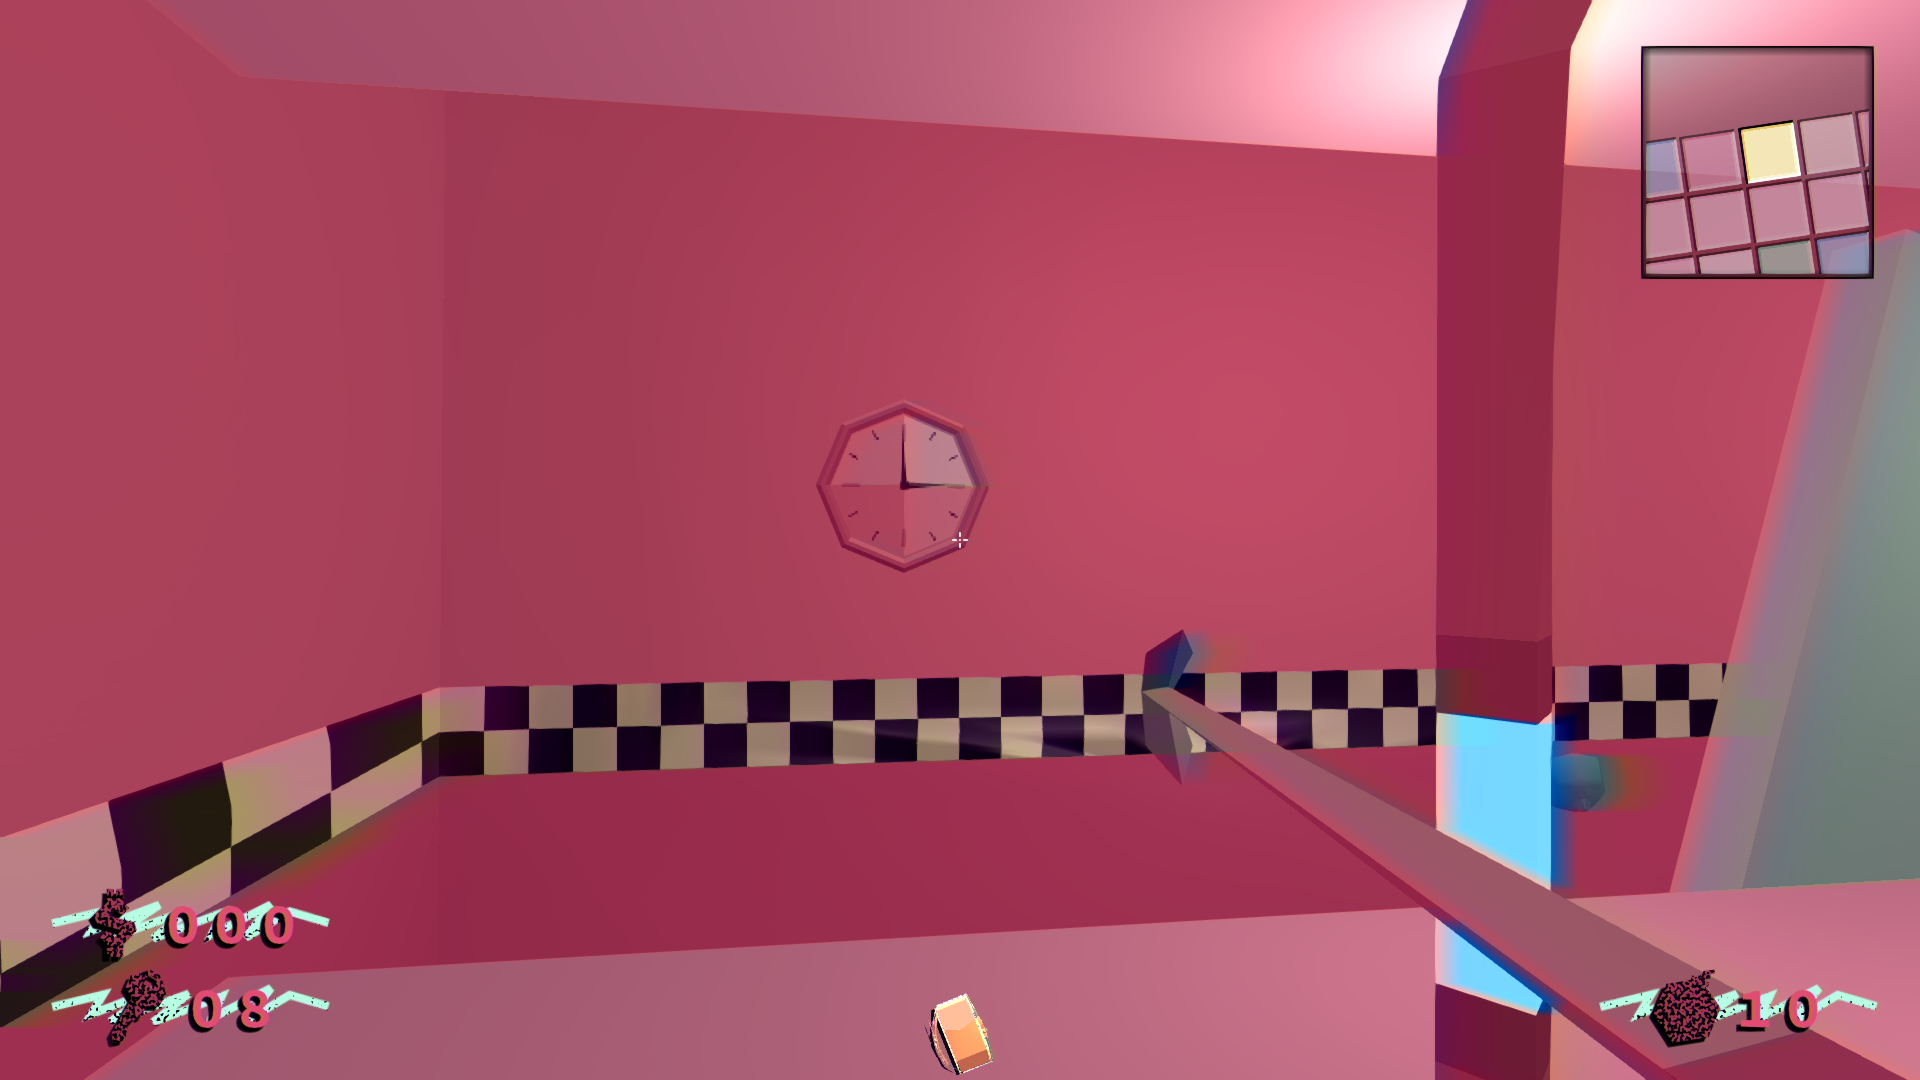
I've also decided to change how the diner displays its menu. Previously the items were put on the counter. It wasn't clear enough that those food items were intractable, so I decided to make them hover above the counter instead.
I've also added a constant rotation to them, which makes them more appealing to the player in a way.
SpinningFoods.mp4
I'm not done with that design, though. I still want to add something similar to the bank's dark hallway. I want to make the player believe that this room is actually just a portion of the whole thing. I still need to think about it, though.
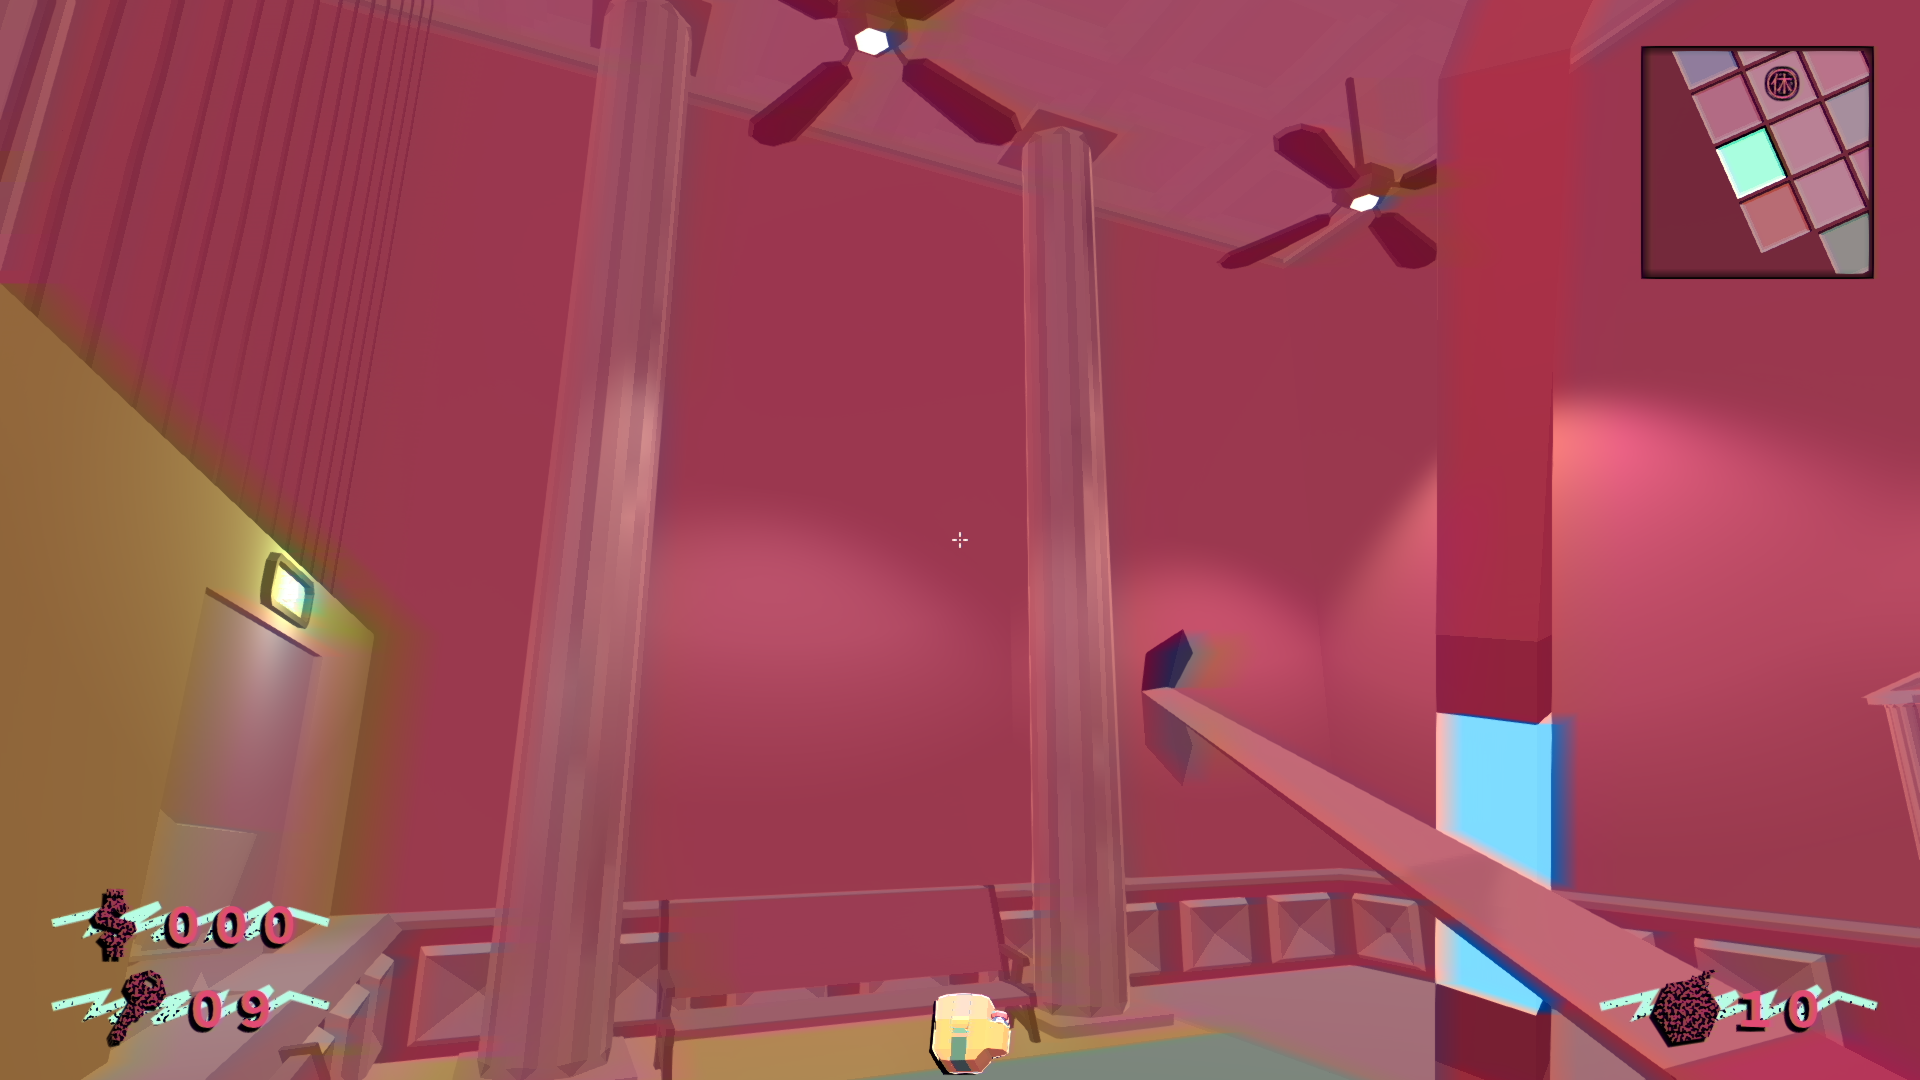
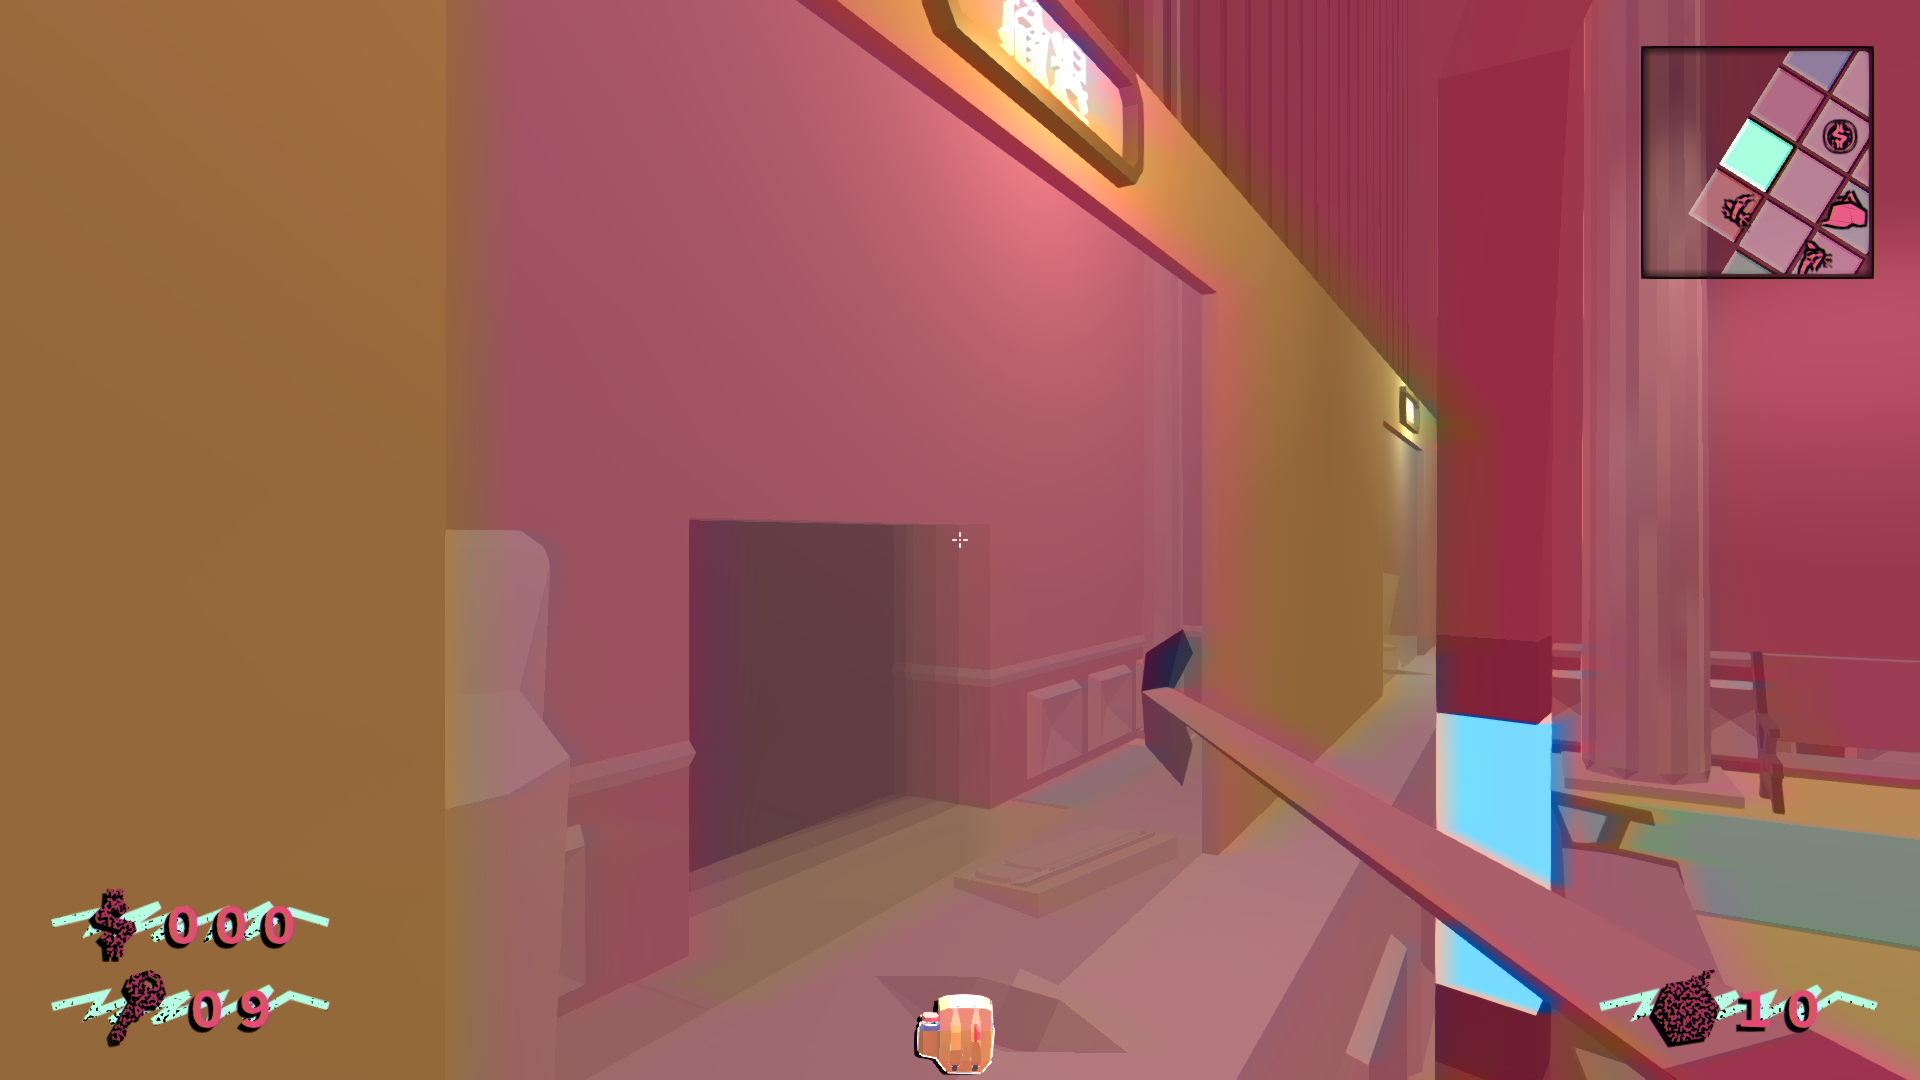
The New Casino
Finally, let's talk about the new casino.
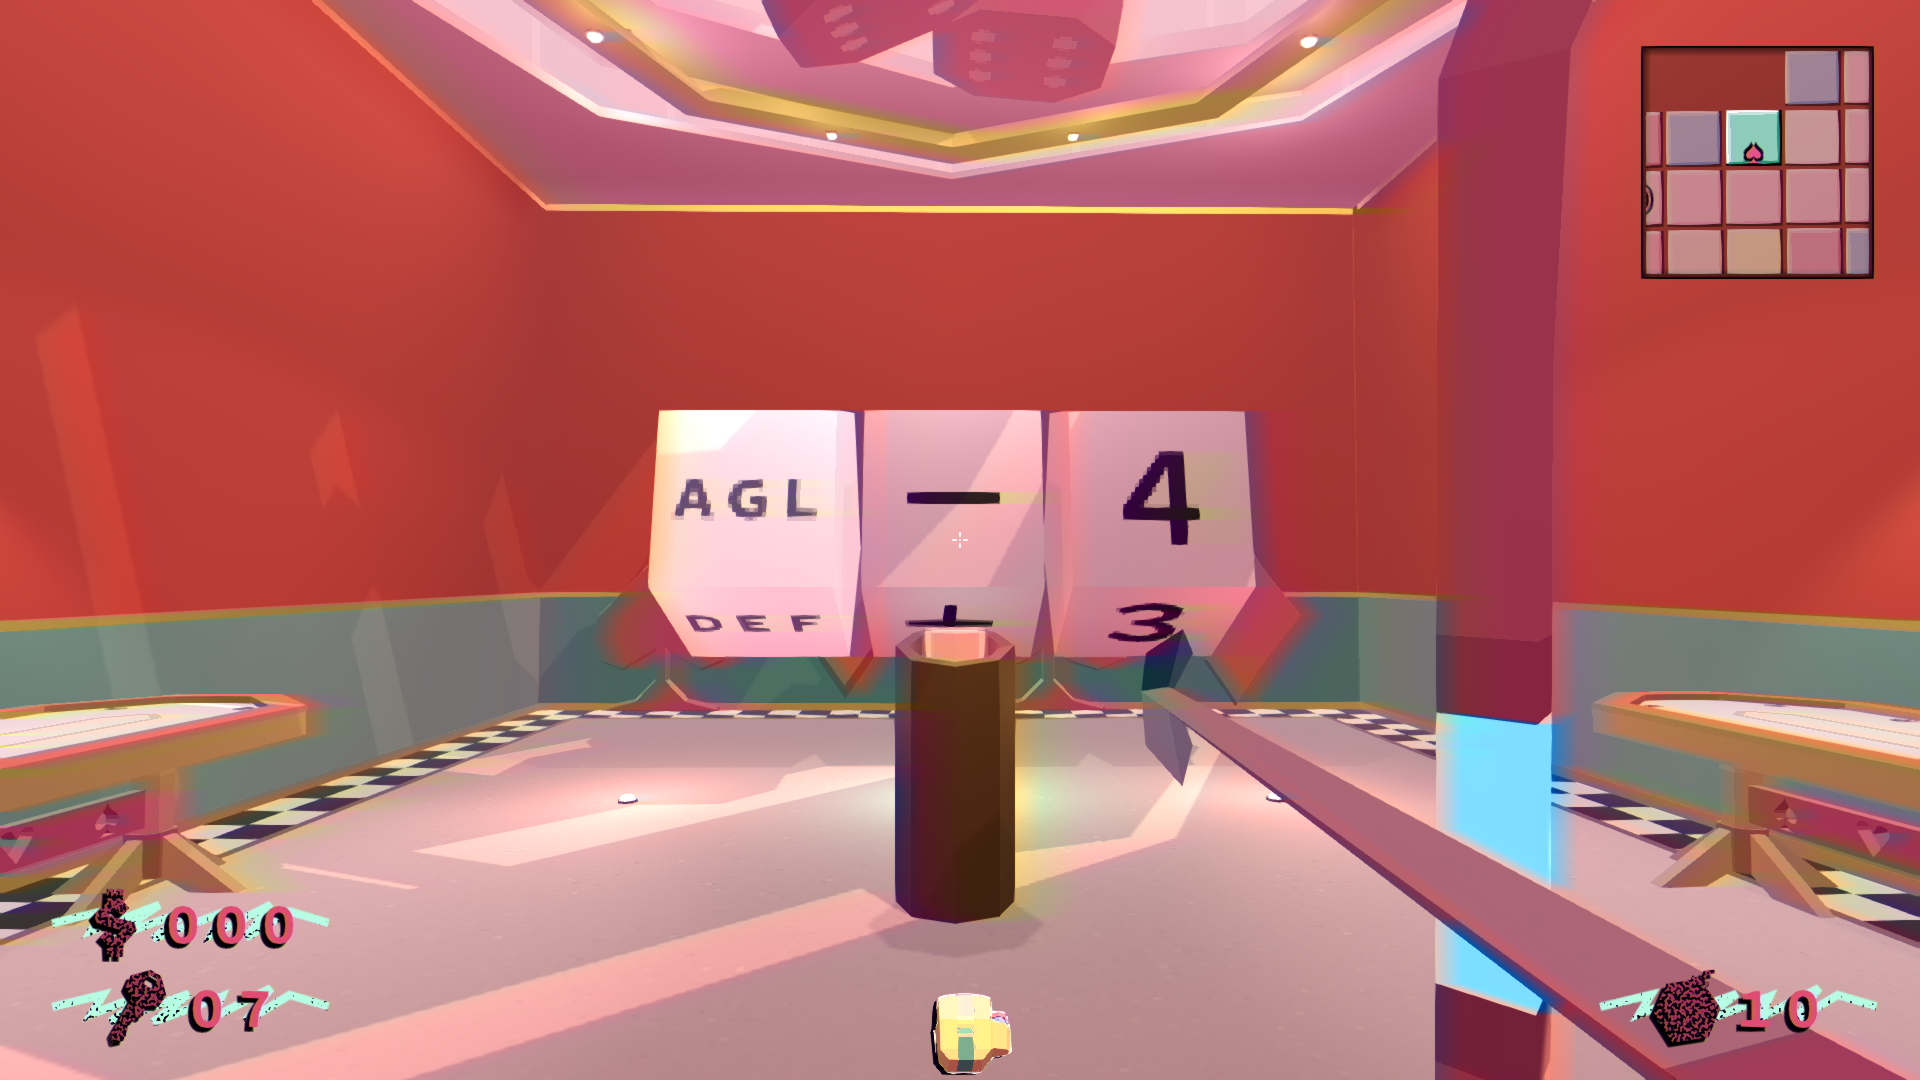
I'm gonna be honest here, the star of the scene here is mainly the ceiling.
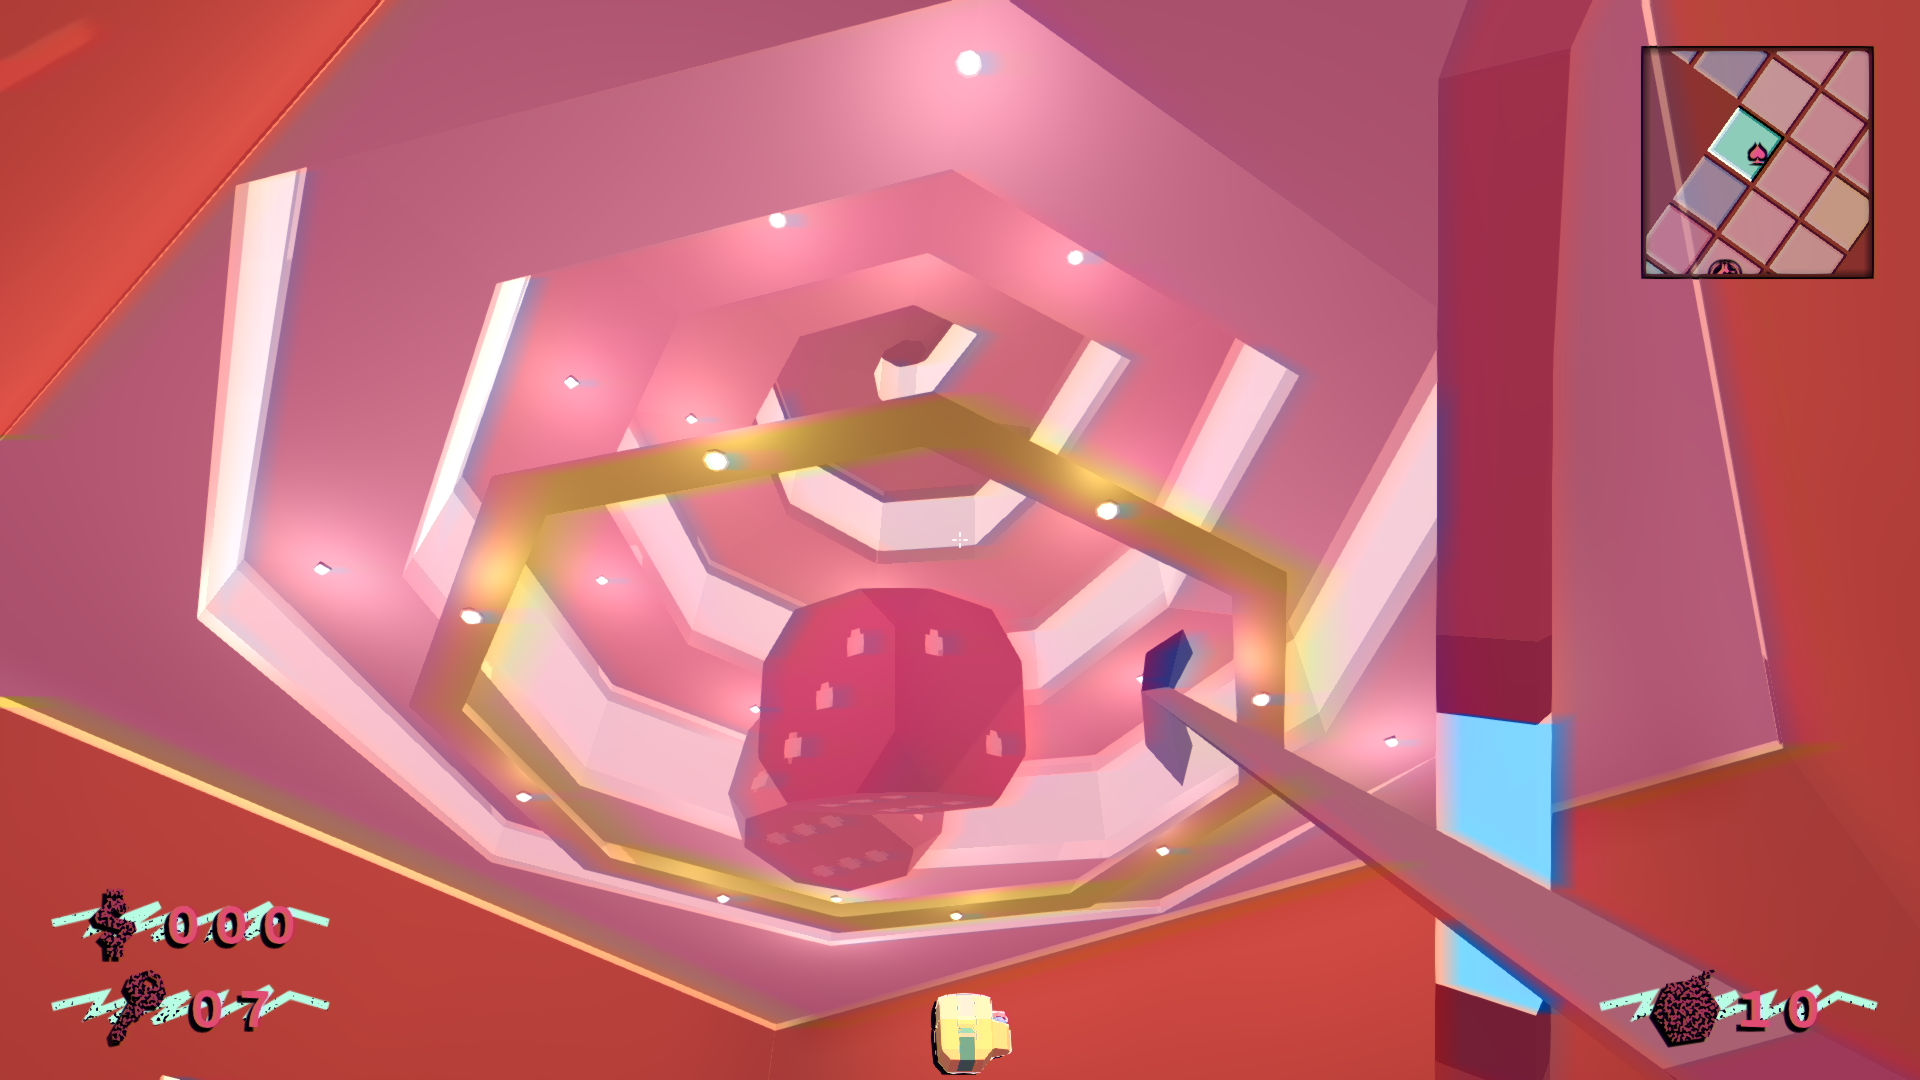
I was inspired by my city's casino design, which actually is a reused pavilion from the 1967 World's fair.

It got really funky curves and whatnot. This inspired me to create a spiral-shaped ceiling with big wide windows all around it.
I'm reusing the same "fake sun" lighting system that I've used in my super shoppe room. Basically, I rotate the spotlight to replicate the sun's alignment. I personally think that the projected light makes quite the impression, especially with relatively simple room design and simple low-poly geometries.
I also added a bunch of lights to it just to make it look quite nice too.
That's about it for rooms as of right now
Minor Updates
-
Refactored my enemies (while it's implemented It's still a WIP, so no pictures, sorry!):
-
Now they got a more "humanoid" skeleton:
- This effectively means that I now have access to things like head IK and many more advance humanoid feature, such as animation mirroring and whatnot.
- Updated the walk animation blend tree to be 2D;
- With new walking animations, enemies can now sidestep and backstep;
- Redesigned the model to match the new designs.
-
Now they got a more "humanoid" skeleton:
-
Changed the Super Shoppe floor to carve a nice glass design on the second floor's floor:
-
This carving goes through the floor and is also visible from below;

- It's supposed to represent the icon for crystals.
-
This carving goes through the floor and is also visible from below;
-
Optimized some unoptimized code here and there:
- I've been doing profiling a lot and discovered that some of my GUI elements can give lag (can drop from 60 FPS to ~15 FPS), so it's up to the drawing board again I guess.
- Bunch of cleaning, refactoring and optimizations.
Next Week
While redesign the rooms are primordial, I'm also worrying about performance too. Its a relatively simple game, and having a 25% lag spike is kind of unacceptable (especially given that the geometries are stupidly low-poly compared to modern games). I have no idea why, but I always was conservative with the resources of the game. Perhaps it's because I'm lacking either confidence in the technology or perhaps it's a lack of knowledge on the actual limit of the engine. I really have no idea, and while I'm not as knowledgeable as others on the mather I also think that it's something that can be learned.
But anyways, first up is fixing that unoptimized GUI element. I don't think it'll take long, but who knows?
Aside from that, I want to continue the room redesigns.
Then it's enemy time and after that, it's your usual suspects.
I really think that if I'm working on it I could have something by about July or August. After hindsight, the March/April deadline was kind of pretentious, especially knowing the fact that the game itself wasn't even 1 year into development, to begin with.
I knew that games like these could take up to 2 years before being done, but I was also kinda cocky about the fact I could do it in half the time.
Needless to say that it wasn't really possible at all. But right now let's focus on now and let's slowly plan ahead as we go: the future can be really unpredictable sometimes.