Hey! It's you again! Nice to see you!
Another week ended, so it's time for a new entry in your favourite Weekly Updates blog!
Last week I was hinting about fixing a particular performance issue, so the main gist was about fixing this.
So let's get right to it!
The Minimap Problem
So after a bit of profiling, I realized that one of the most frame eating thing was by far the minimap.
The minimap used to be made of many smaller rectangles representing actual rooms. To move the map around I simply change the pivot point, which helps me keep the minimap's orientation while following the player's current position.
The thing was that each of these movements triggered a re-layering of the minimap.
In essence, this re-layering cost me about 25 FPS. No good at all.
I clearly needed to optimize this process, as having a very low FPS for such a simple game was unacceptable.
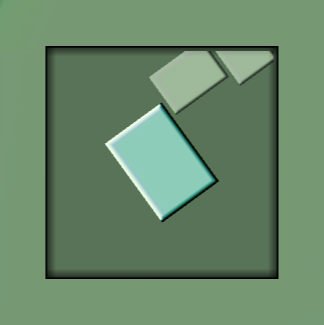
There were many different options on how to make a new minimap. Two of these examples were rendered textures and just textures.
While using a camera simplifies the minimap a whole lot it's also quite expensive to re-render the scene onto a render texture. In fact, the framerate lowered by half! Not good either.
So instead I decided to go with the other option: building my own texture. While this is relatively inexpensive to use it was quite a pain to set up. This was because of the marching square algorithm which is always using the middle to build geometries. Needless to say that I needed to round these rooms up.
This wasn't the only problem either! Unity's rect class which represents a 2D rectangle has two different things which made positioning and sizing a huge pain.

First, it's coordinate system has it's Y axis reversed compared to the 3D coordinate system. It can be really confusing to try to map a 3D Bounding Box to a 2D rectangle. To get it I needed to take a step back and really think about it.

Second, the rect class has a really interesting way to deal with positioning. Basically, the position of the rectangle is its min. This means that, for example, to center a rectangle you need to find by how much you need to change the min and apply it. Another big problem was clamping the room's max and min while keeping the same size. In this case, you need to offset the position of the rect in a way that the room would keep the correct position while growing according to the available space. This is ok for rects that can just change their max but was quite cumbersome when the min needed to change.
Nevertheless, after a day or two, I was able to solve most of my problems and was able to draw out each room correctly.
The Minimap Texture
Once all these rectangles are properly set up I simply needed to render each room onto the minimap texture.
I particularly had a bit of fun with this. With the previous minimap rooms were just solid rectangles with no details at all. Pretty boring if you ask me.
Now I can tell which colour each pixel of the room will use. This means that I was able to pick the specific floor colour at that pixel. This means nicely rendered rooms with a whole lot more colours than before!
I was even able to get the right grass shade too!
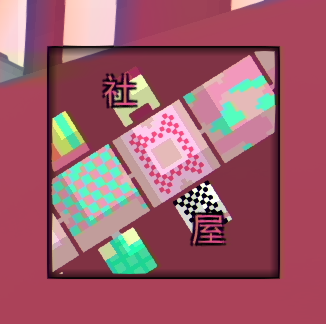
Each ground types has its own colour that makes sense, which is quite pleasing to the eye. There are event elaborate textures on some of these!
I also tried to add shadows to it by using the sun and trying to mimic the actual shadows as they appear on the ground. This was quite cumbersome as I basically had no experience with shadowing at all, and most people use a shadowing technique that inherently uses cameras frustum, position and maps to create shadows. So instead I decided to create a really simple casted shadow that was simple to set up and to calculate. While being quite simple it gave the effect I wanted. So it's a win for me!
Aside from that, special rooms now all got unique designs that try to display the room at a minimal resolution. Some even try to display relevant props and other distinctive designs too!
With the minimap texture, I was able to keep my current minimap rotating and positioning algorithm. Except I now got a more steady FPS of around 60 frames per seconds. Pretty good if you ask me.
Room Redesigns
Aside from that, I'm also on a redesign quest too. During the week I was able to redesign two rooms: the pawnshop and the pharma research lab.
As always, the design is always an iterative process, so it's not really the final designs but it's slowly getting there!
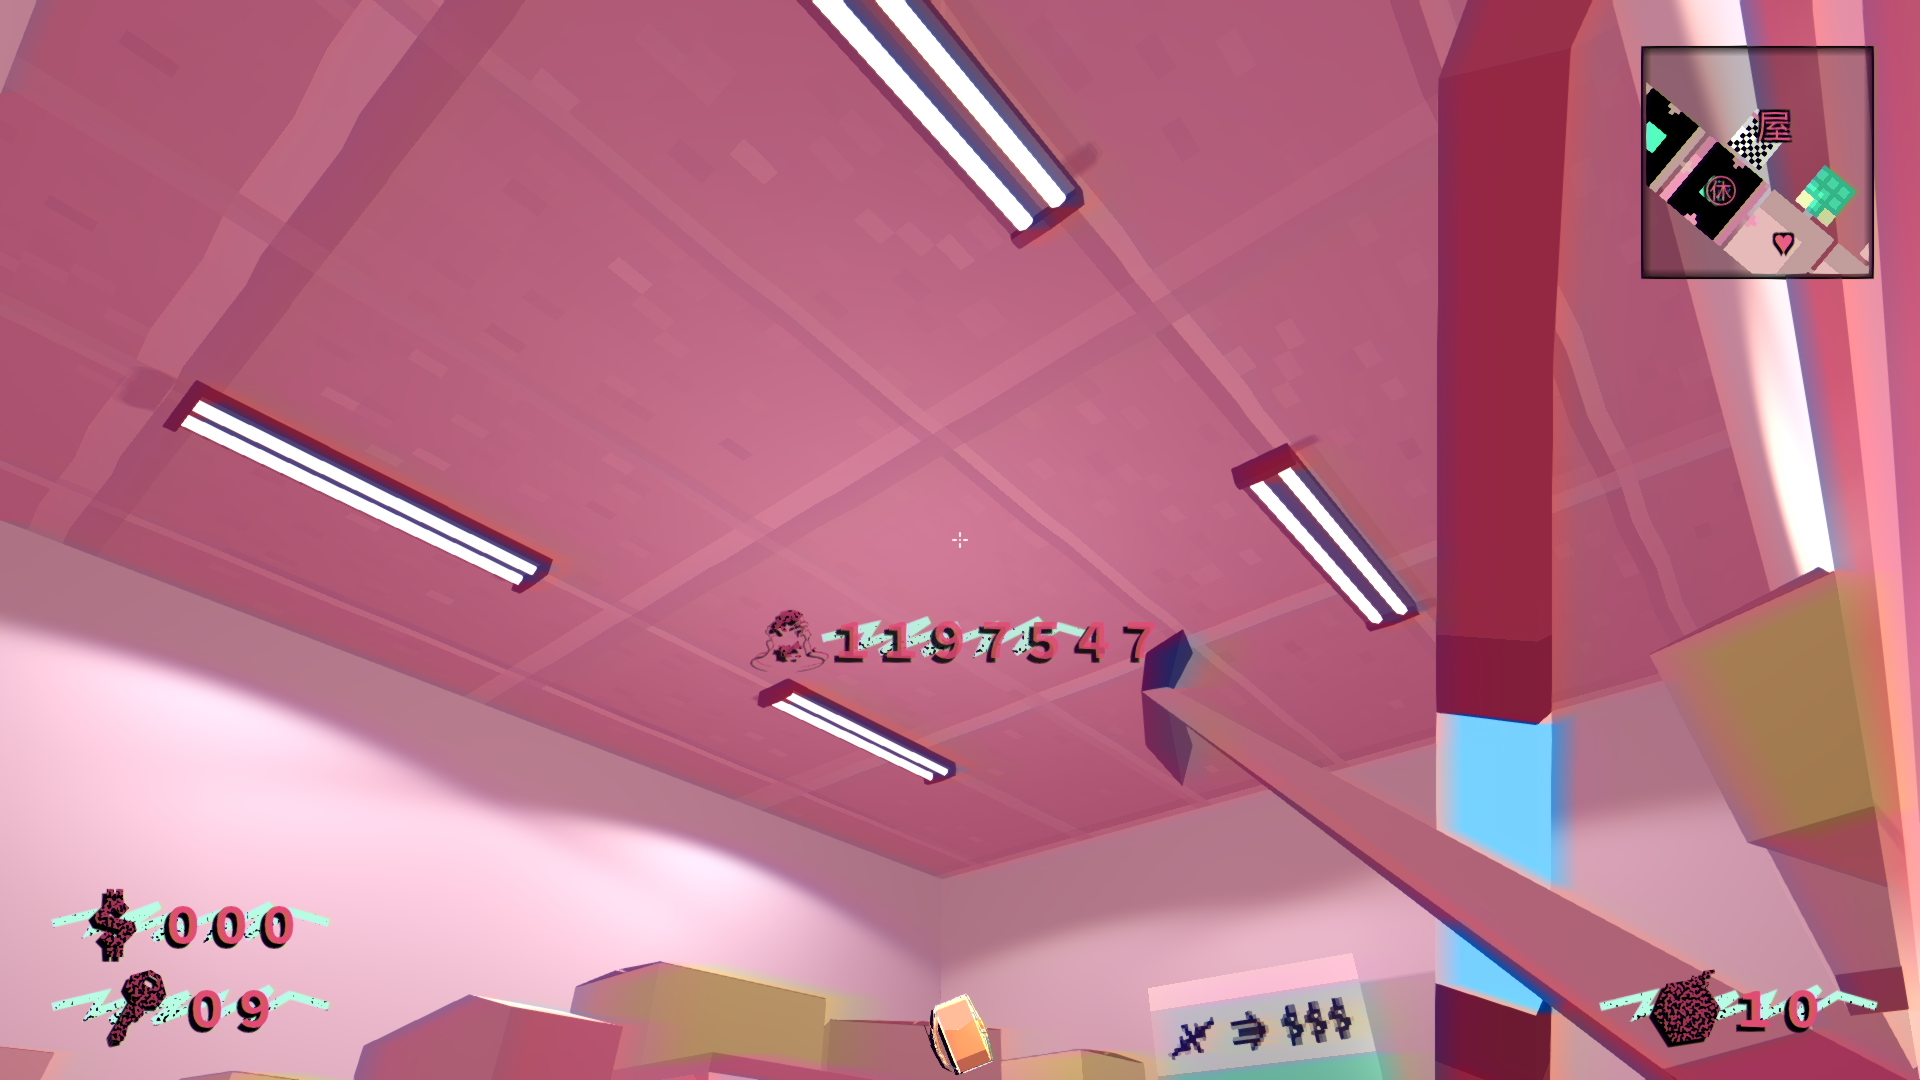
The Pawn Shop
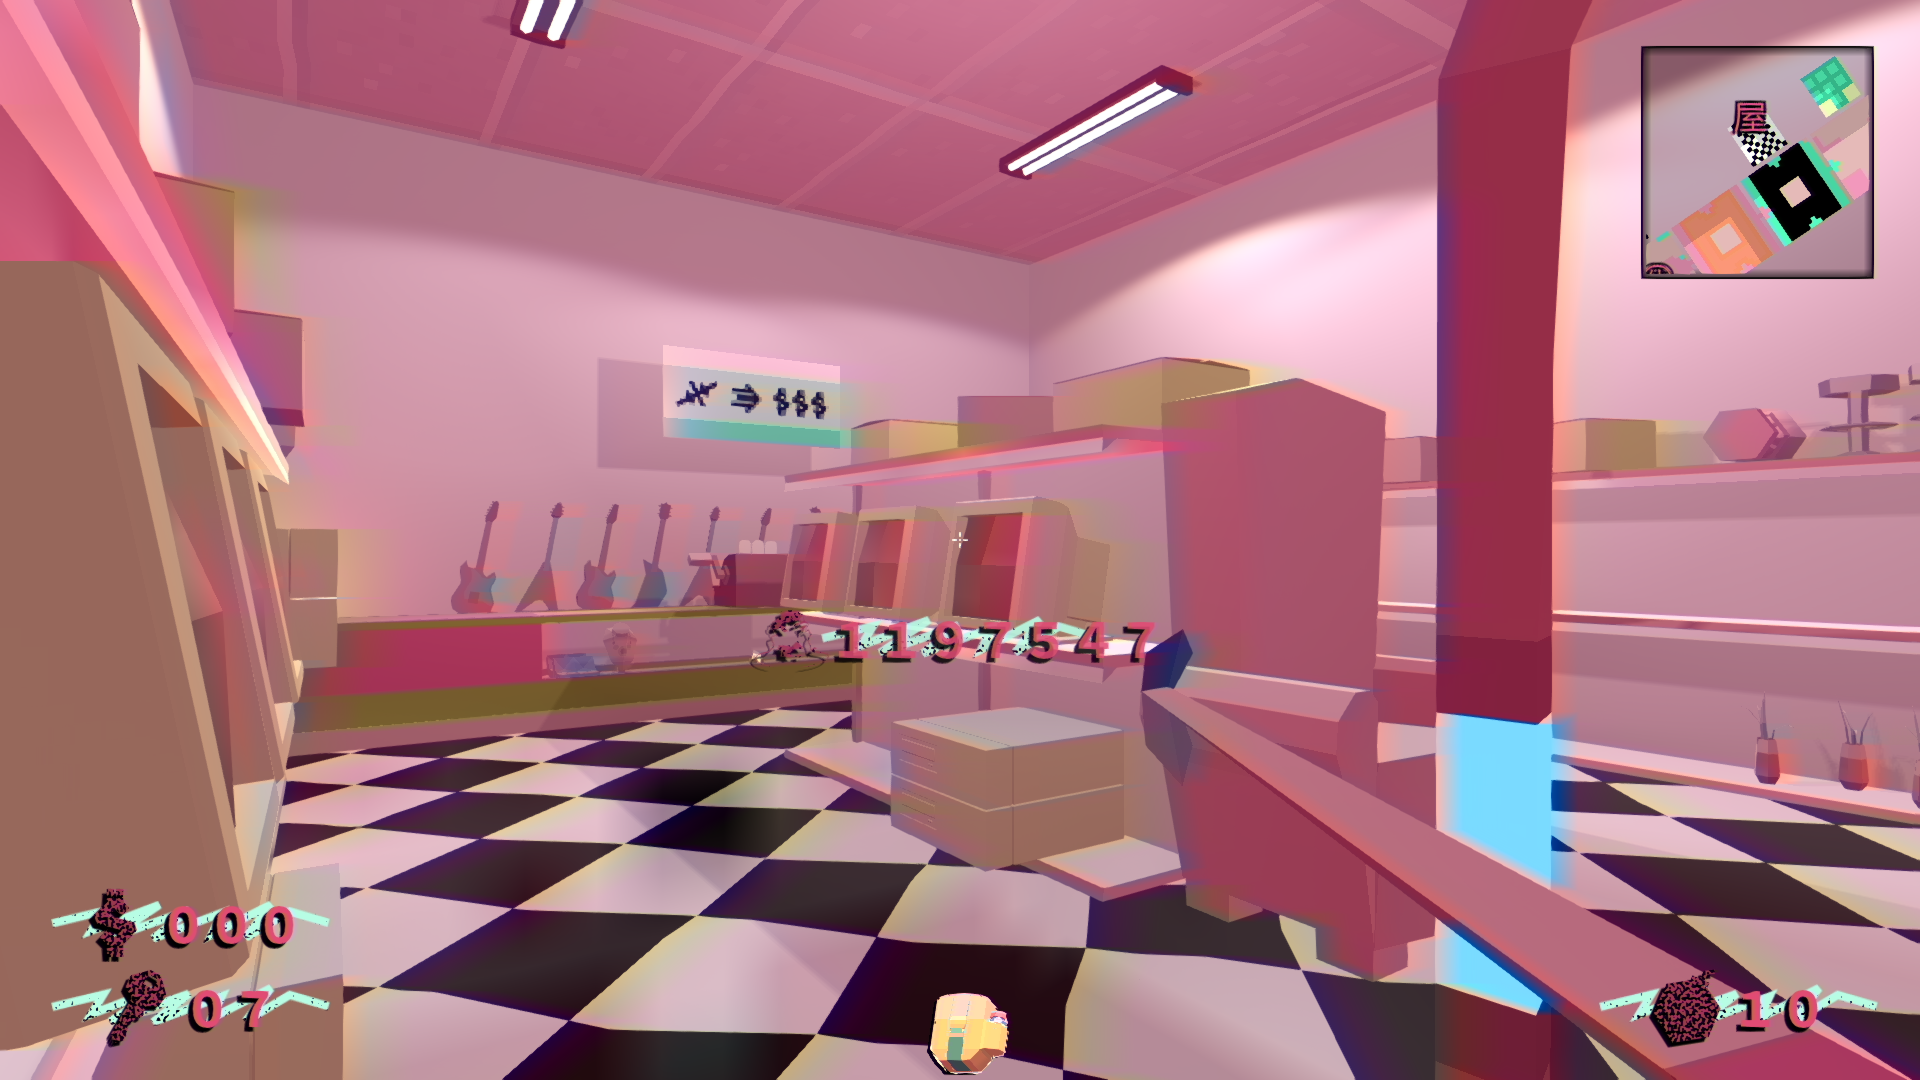
So This new design isn't as different. While the layout remained pretty much the same the amount of polish is greater in this one.
Here are the main points:
-
For once there's now a nice texture on the ceiling.

-
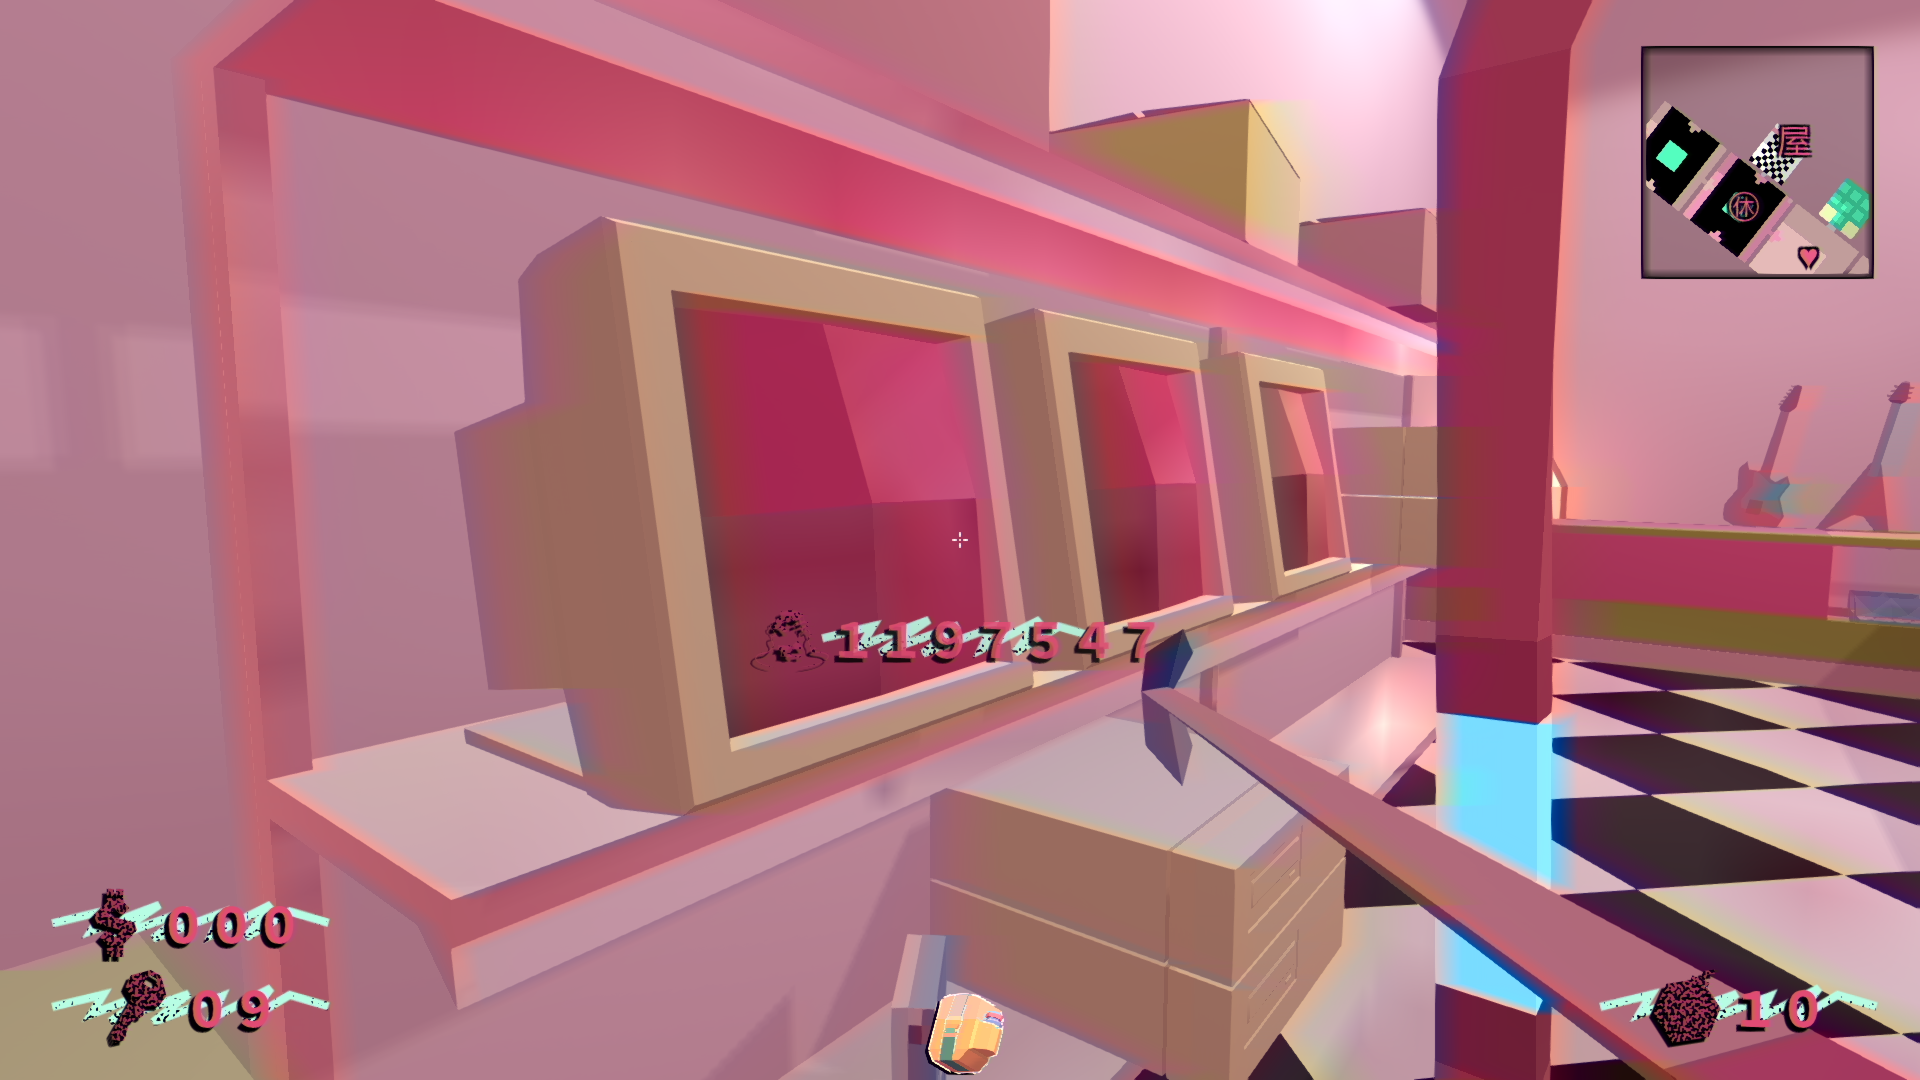
The shelves are more reflective and had more varied materials.
-
The computer screen is a whole lot more "low-poly" and flatter.

-
There are now new props coming straight from the spa room.
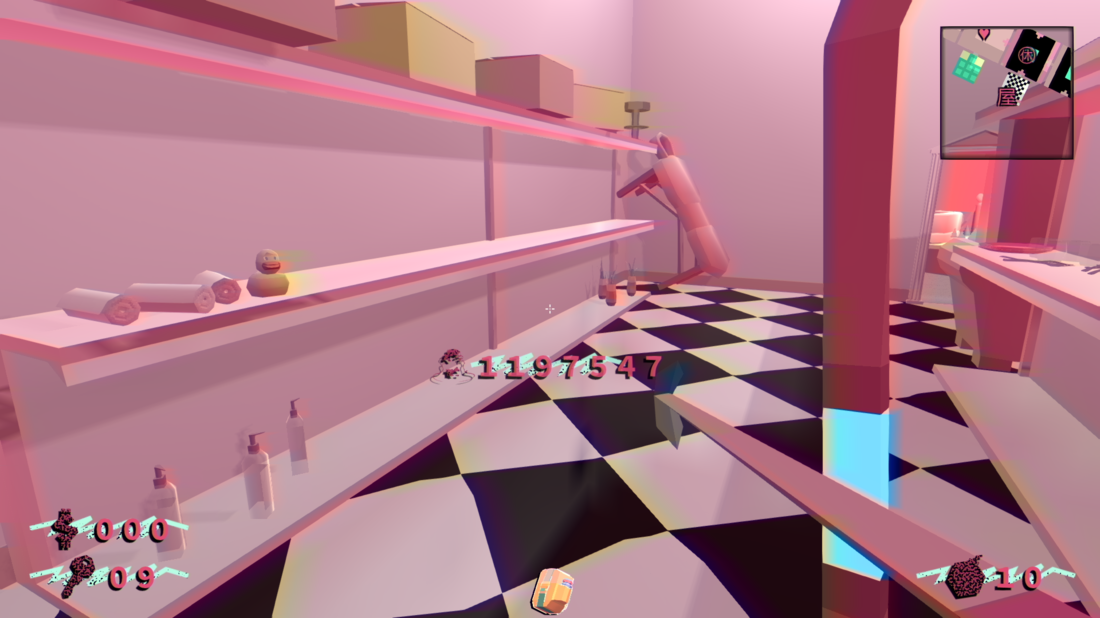
- The lighting is a whole lot better.
- Finally, there's a lot more variation in material that before.


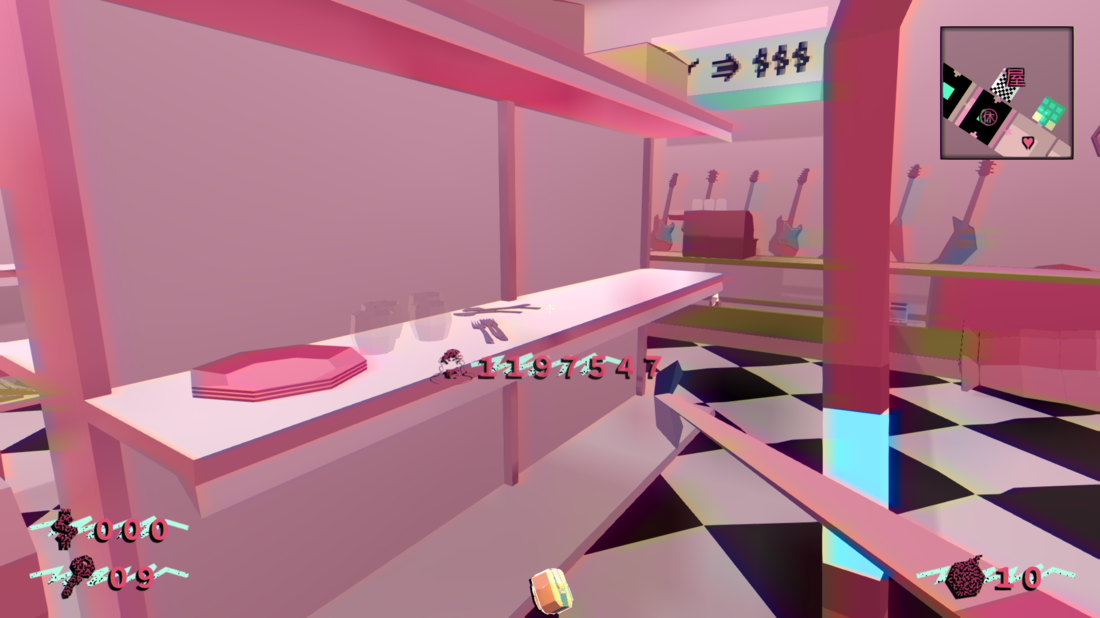
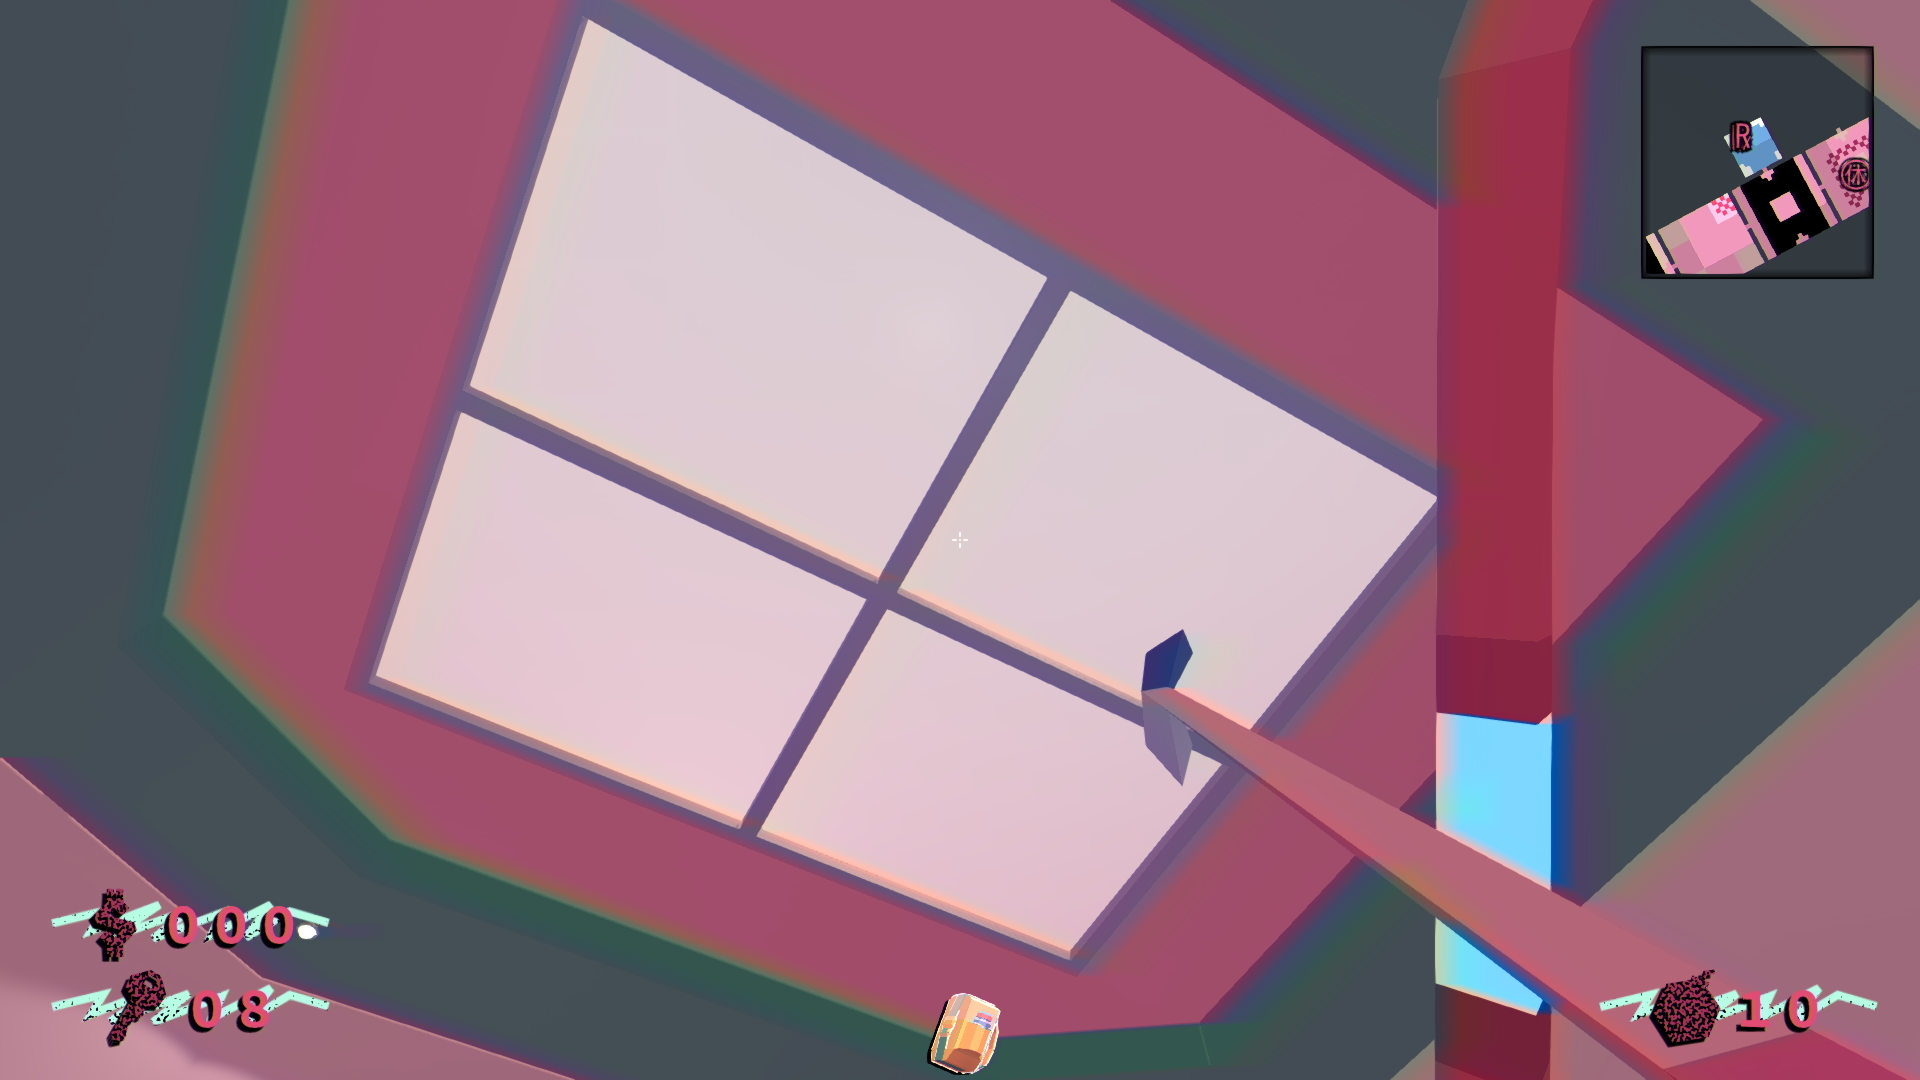
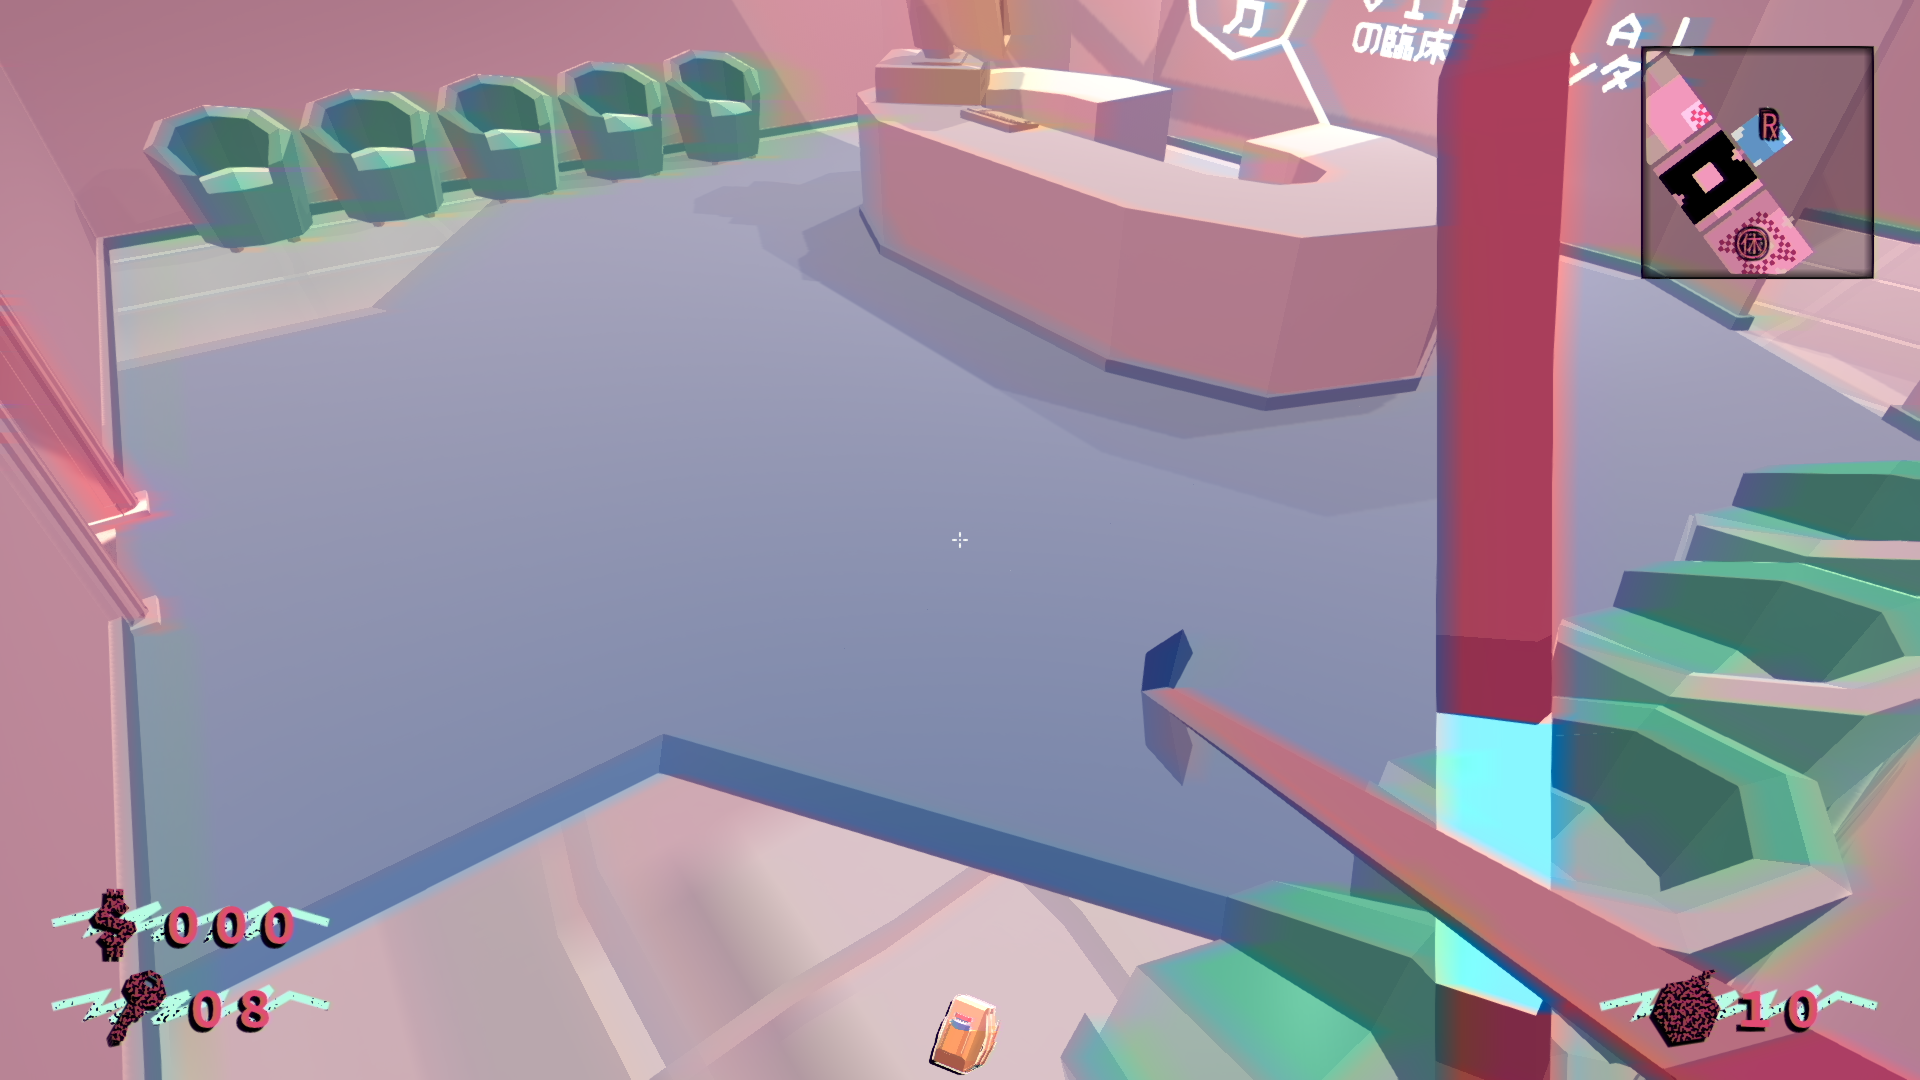
The Pharma Research Lab
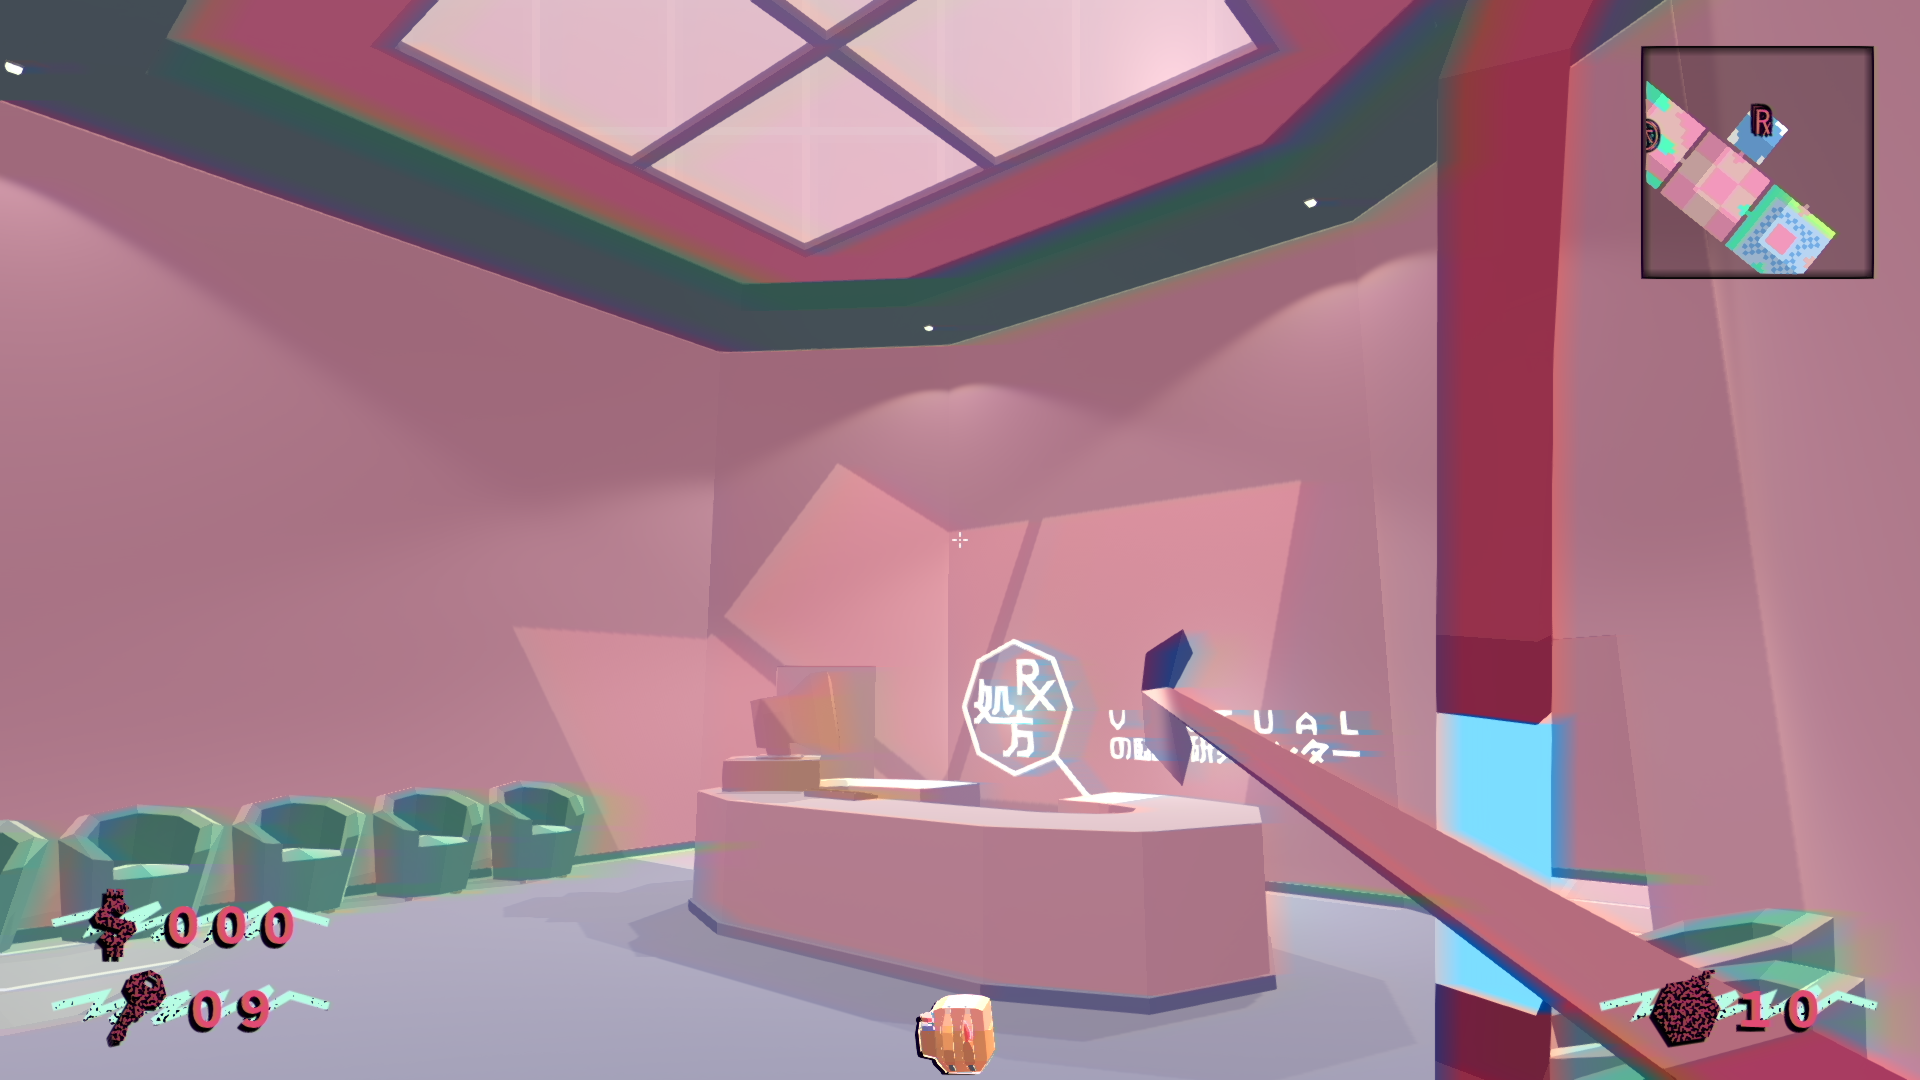
This room got quite the uplift to be honest. I think it looks a whole lot better now.
Here are the new things to notice:
-
The ceiling now got a window. The sun's light goes through it and makes quite the scene!

-
The floor geometries are now split. The base floor got a tile texture to it and the carpet looks a whole lot more like a carpet too!

-
The back room's ceiling is lowered, making it feels a whole lot more like a back room.
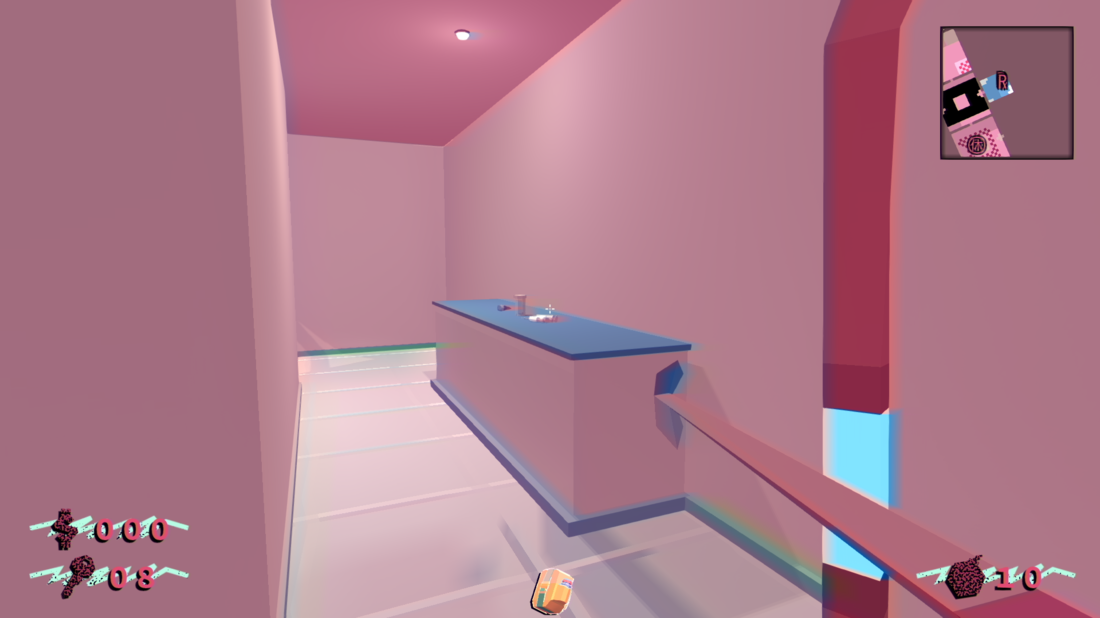
- Better lighting altogether, better reflection probes and, of course, optimized geometries!

Minor updates
-
Optimized and refactored most of my shaders:
-
Boy, it takes a long time to compile those shaders...
- Having everything in a .cginc is quite handy to centralize code but each edit means recompiling all my shaders...
- Anyways, I added a metallic map that will be surely useful in the future.
-
Boy, it takes a long time to compile those shaders...
- Redesigned minor props;
- Optimized some expensive scripts.
Next Week
I'm on a redesigned train and no one can stop me! Each room has to be looked at and changed accordingly. This takes quite the time but it's an important thing to get right.
I'm starting to think, though, that I really need to have something new. A special room, relic, capacity or anything really. This will give me quite the insight on how the game will be played and optimize things from the getgo.
Right now in terms of optimization things aren't as dire as before: I'm getting a steady framerate and my verts counts aren't that hight. I think it's quite a time for something new...
So basically the order is reversed and our "Usual suspects" are now higher on the priority list. This means that optimization can take a step back and gets to simmer on the back-burner.
So next week prepare to see some new things! I can't promise it but I'm going to try!